Strawberry cross stitch coaster (free pattern)

Protecting your table from rings has never looked so good! This fruity pattern will be a hit this summer. Get the free pattern to stitch this strawberry cross stitch coaster PLUS the free svg to cut your own felt coasters to stitch on!

I love the combination of laser crafts and traditional and have had so much experimenting making blanks I can stitch on since I got my Mr Beam laser and my M1 xtool. But don’t worry if you don’t have a laser cutter. You can still create this cute summer strawberry cross stitch coaster and I’ll show you how!
Pattern dimensions
- Coaster dimeter is 4”
- Strawberry is 3” by 1.5”
- 4 DMC thread colours are used

Materials
4mm acrylic felt
DMC threads
Tools
Laser cutter to cut the coaster blank
Blunt end tapestry needle
How to read a cross stitch pattern
The black arrows on a chart show you where the centre of the design is. This is where you should start stitching from
The numbers and symbols each represent a different colour on your floss key
Each square on the pattern is where a cross should be stitched.
The squares are formed into blocks of 10 x 10 to make it easier to read a large pattern.


How to stitch a strawberry cross stitch coaster
If you've never stitched before, then read through these simple instructions to help you stitch the cross stitch strawberry coaster embroidery pattern
Materials
- Felt strawberry coaster blank using the svg file
- DMC embroidery threads -
- DMC-3705
- DMC-988
- DMC-703
- DMC-741
Tools
- Pattern
- Blunt end tapestry needle
- Embroidery scissors
- Optional - a thimble
Instructions
- Start by printing off your pattern and checking it's dimensions
- Cut out the coaster svg on your laser cutter using 4mm thick acrylic felt
- Find the centre of your pattern and the centre of your fabric design
- Start stitching from the centre
- Cut a length of embroidery floss no longer than the length of your arm
- Separate it into one strand and keep the remaining five for later
- Double the thread and thread your needle
- Start stitching from the front of your fabric, leaving a loop to thread your needle through on the first stitch to secure. Tug so that it moves to the back.
- Work your stitches all the in same direction, the bottom of the cross should always be the same in every stitch.
- Work in either individual crosses or for longer areas of stitch work the bottom arm of the cross stitch in a row and then stitch back over the row to do the top arm of the cross.
- Stitch all of the red area of the pattern, then add the orange spots.
- Finally add the green colours for the top of the strawberry
- To finish, ensure the needle is on the back of the felt coaster. Thread it through the underside of a few stitches and then snip off the loose end.
What if I don’t have a laser cutter?
Don’t worry if you dont have a laser cutter. Simply cut a circle of thick felt 4” in diameter.
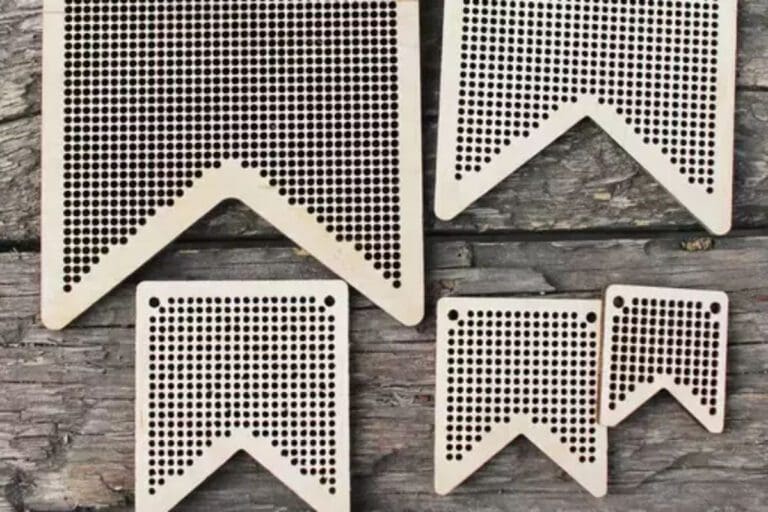
Then print of the pattern or use the image below to see where the holes would need to go. You can see here that they are at each corner of a cross.
Use a tailors chalk to mark the points and instead of a blunt ended needle use a sharp one to pierce through the felt on each hole.

What else could I use this counted cross stitch pattern for?
Don’t fancy stitching the coaster but still love this fruity pattern. If it’s stitched on 14 count aida it’s dimensions are:
- Grid Size: 10W x 19H
- Design Area: 0.71″ x 1.36″ (10 x 19 stitches)
So it makes it ideal for sewing into cards, gift tags or if sewn on plastic canvas a great keychain.