Testing the new HTVRONT A200 Auto Tumbler Heat Press

Thanks to HTVRONT for sending this machine for review. All opinions are my own.
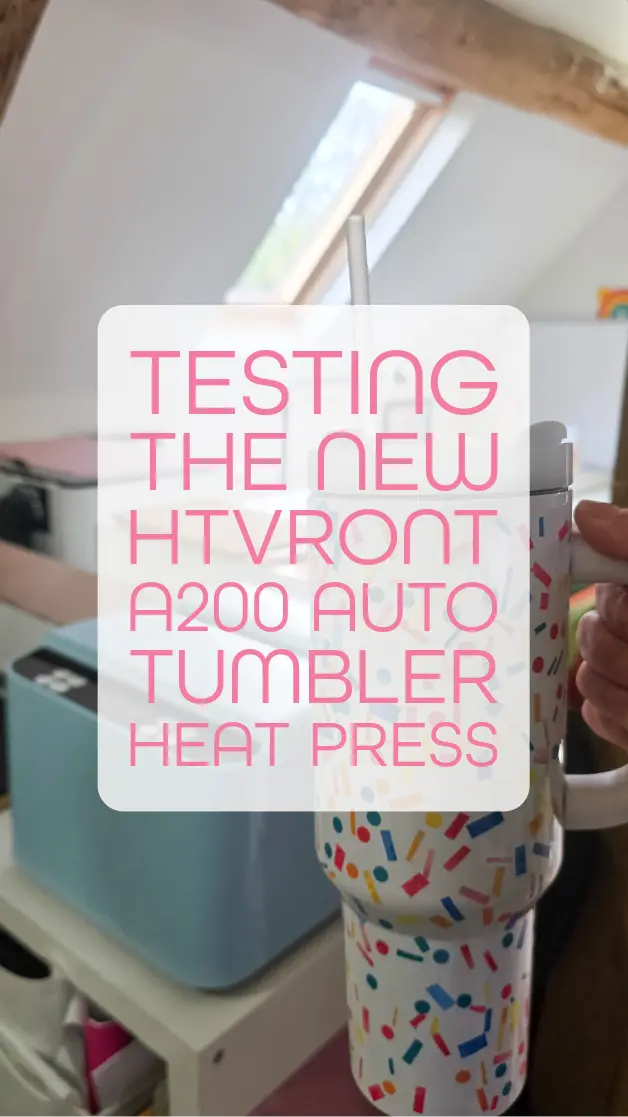
I’ll be honest I love trying out new equipment and always managed to find room to squeeze in a new machine in my studio. So I am happy to be working with HTRONT testing out the new A200 Auto Tumbler Heat Press. I’ll show you what comes in the the kit, which items you can press, how to set it up and use it and my first impressions.
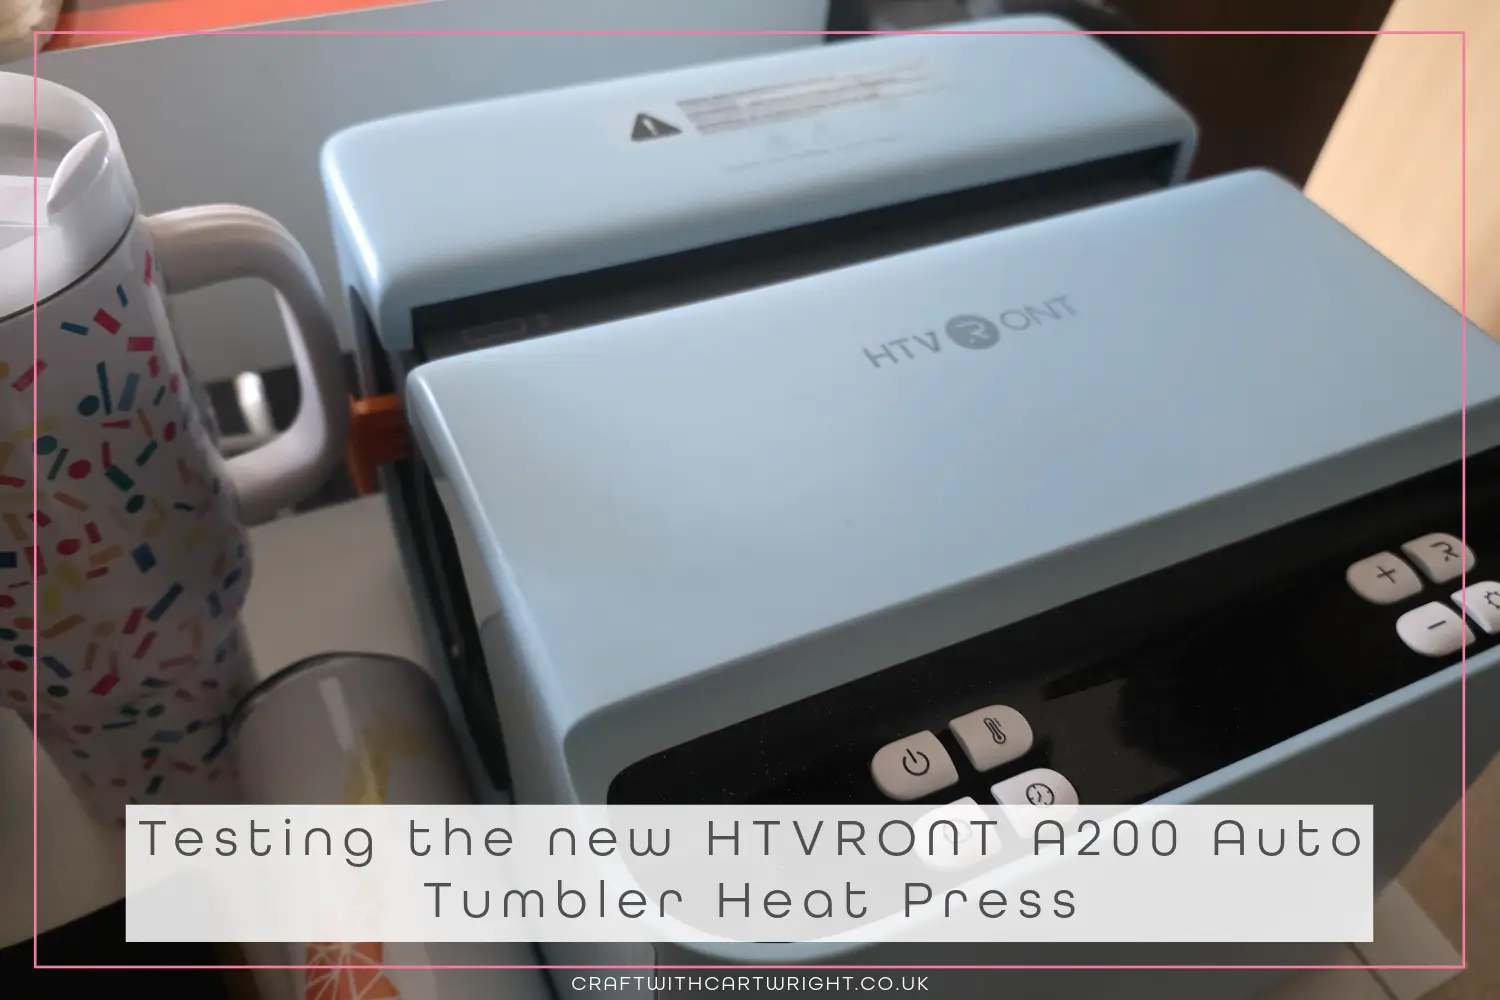
What’s inside the box?
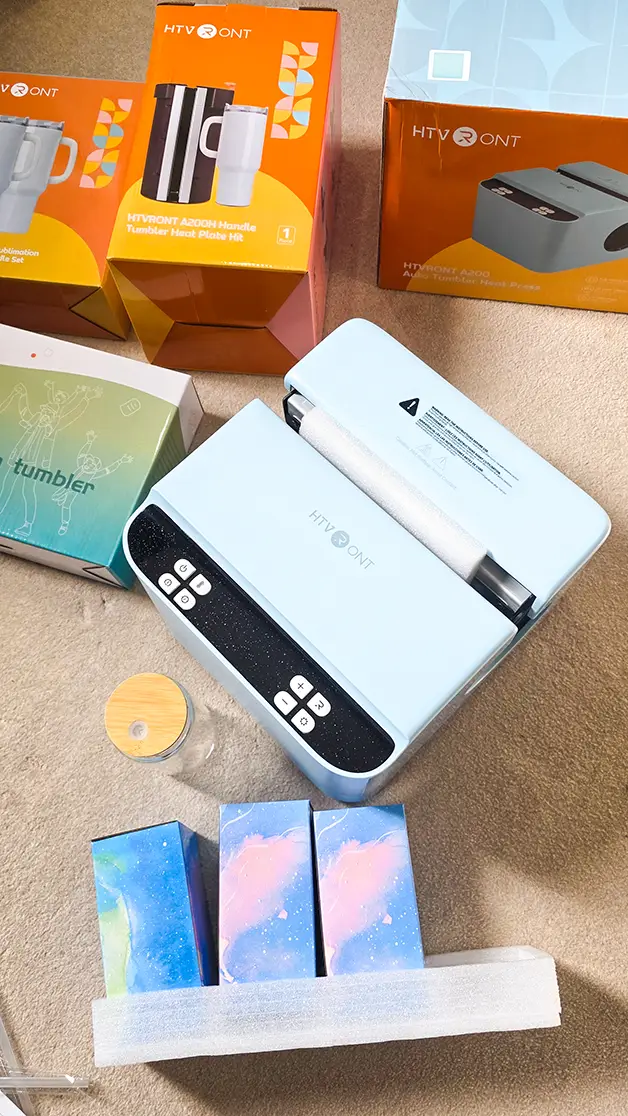
I was sent the the pro kit, which includes The A200, handle tumbler heat plate kit, 2 mm handle tumbler heat press mat, 2 mm and 4mm tumbler heat press mats, a pair of heat-resistant gloves and some heat-resistant tape.
What can you press?
With the A200 as standard you can press 15 – 30 oz straight tumblers, 16oz straight glasses, and other straight glasses and water bottles. With the addition of the tumbler heat plate kit (which came in the pro version) you can also press 40oz handle tumblers.
How easy is it to use
As I have already used a tumbler heat press before, it was very easy to use straight out of the box. That being said, the buttons and display are very intuative and it’s clear to see for even a beginner where to set time, tempreture and pressure.
Once you got to grips with wrapping you tumbler or glass in the heat mats and inserting them. It’s very easy to use.
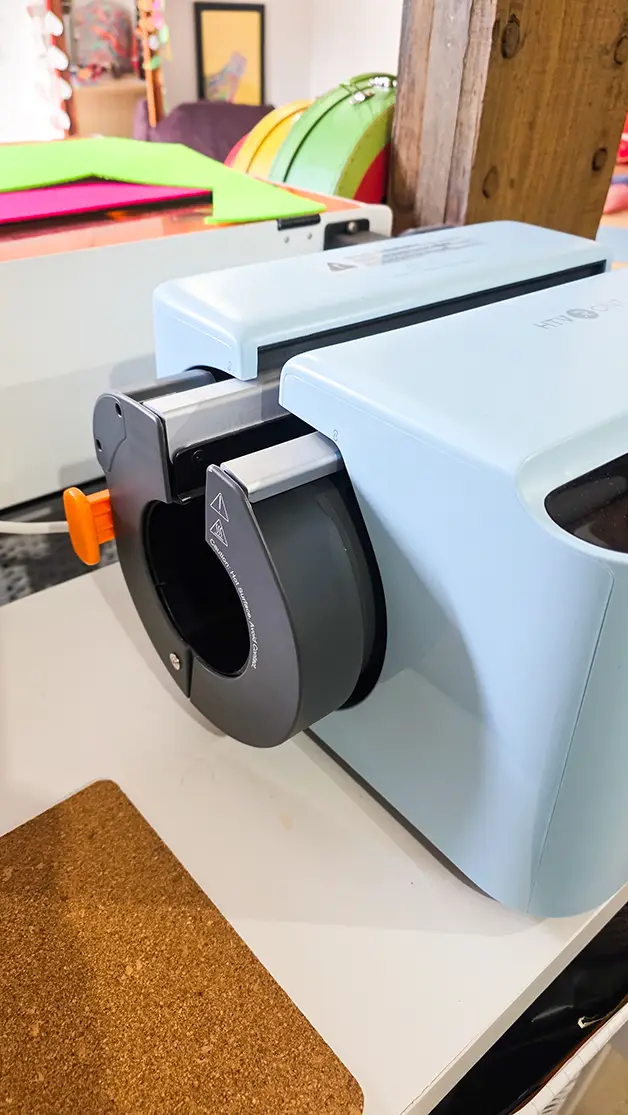
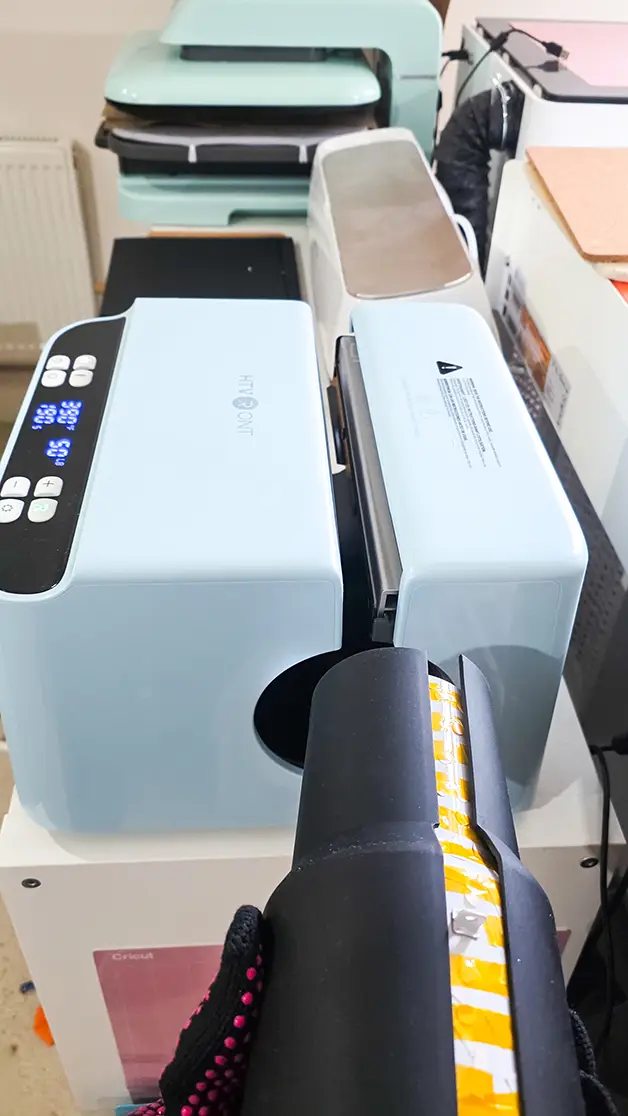

The only tricky thing I found was switching the heat plates, but that was down to user error rather than the machine. You have to make sure that they slide back onto the metal runners inside the machine.
Note: this machine and the heat mats and tumblers get very hot. You need to have it set up on a heat resistant surface and have something to to place both the mat and tumbler to cool down on once they come out of the machine.

First projects
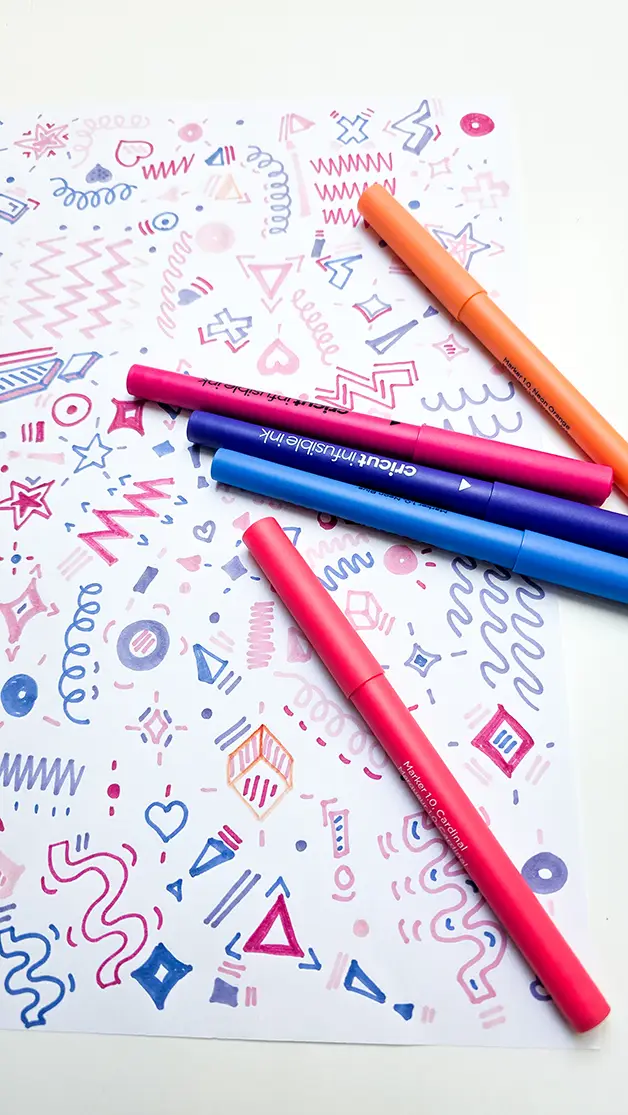
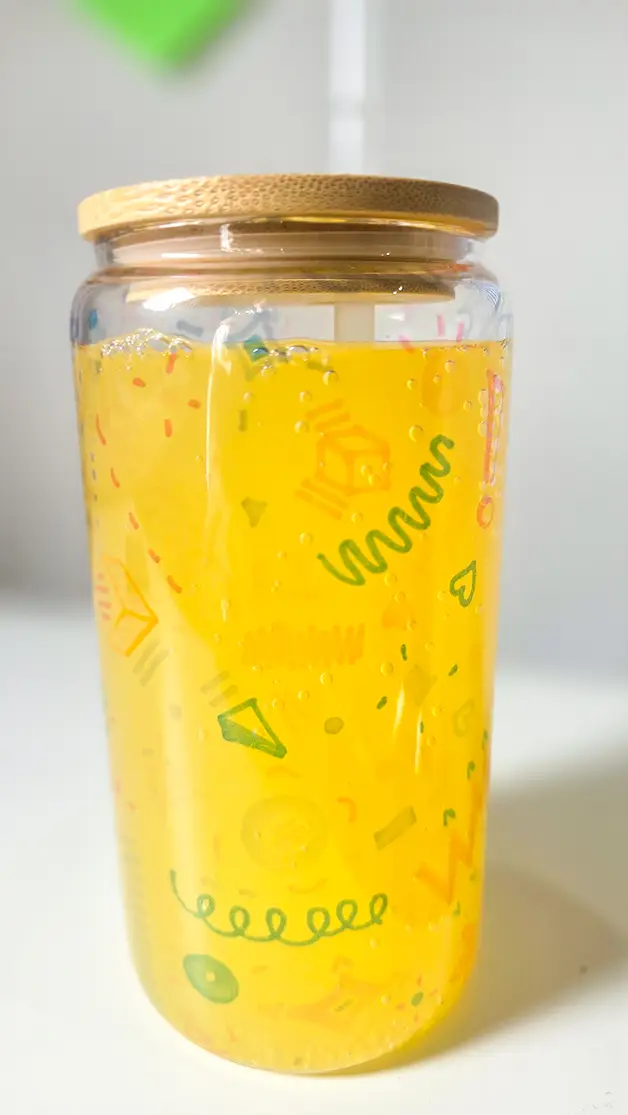
I pressed one of each blank, a skinny tumbler, a glass and the shaped 40oz for my initial tests. For the glass I chose to draw a design with infusible ink pens and press a full wrap. It came out seam less, but I think my pens are drying out as some of the colour was lighter than others. I think this was more a pen issue than the press.
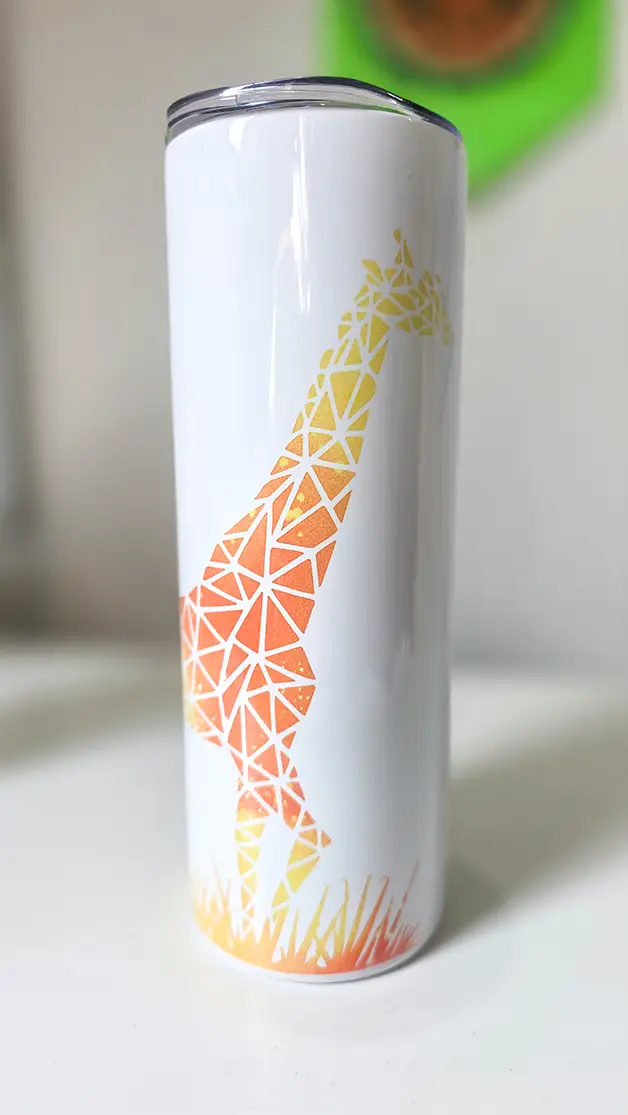
I also sublimation printed out my geometric giraffe design and I love how clear this pressed onto the skinny tumbler. No ghosting and no blow out in the machine.
Finally I had a fun idea to use the scraps of infusible ink sheets I had been keeping and cut sprinkles out to decorate the tumbler. This idea was so cute, but took a long time and lots of tape to cover the whole 40oz!
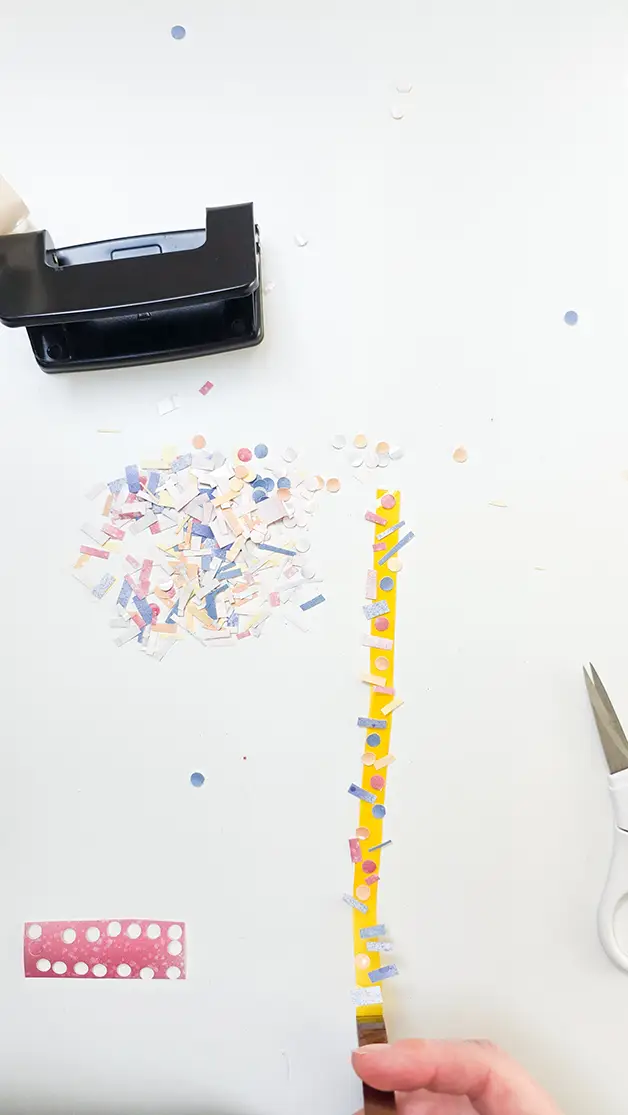
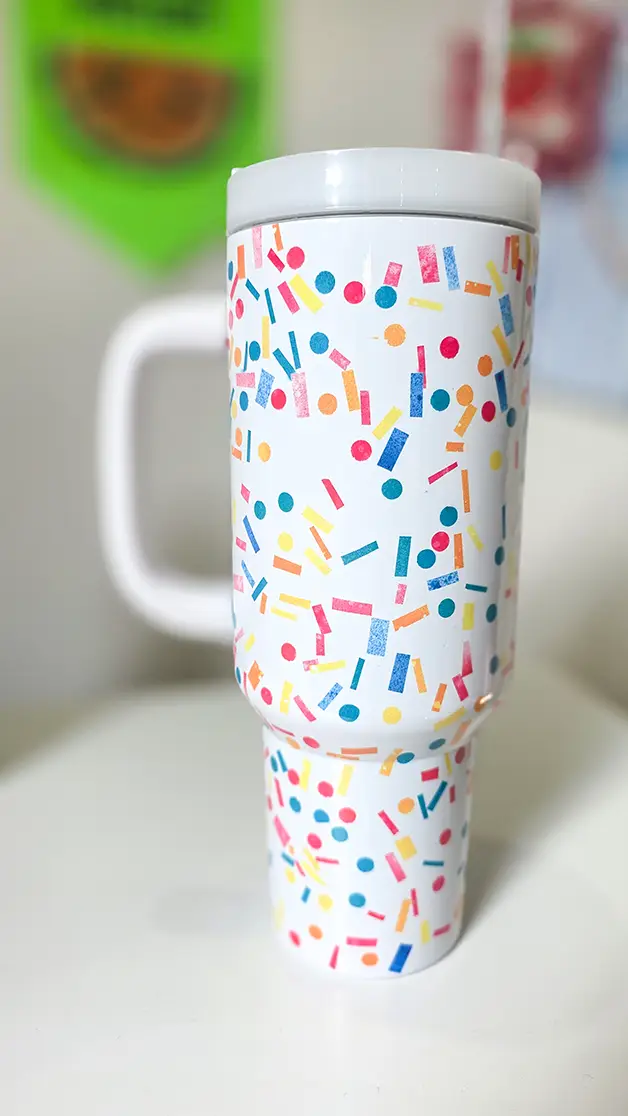
It pressed perfectly, even on the angled edges. If you want to do a full wrap on this shape you can also download a free template via their website.
Settings
These are the settings I used for a standard tumbler, glass and the 40oz tumbler.
- 20oz tumbler: 210 seconds, 390f, 50kg pressure
- Glass: 320 seconds, 390f, 50kg pressure
- 40oz tumbler: 190 seconds, 390f, 50kg pressure
Pros and cons
Pros
- I loved the uniform heating on this heat press, and I could see the seams when pressing.
- It’s compact and easy to navigate the controls
- With the add on of the tumbler heat plate kit, you can press the shaped 40oz tumblers, even on the angled edges.
Cons
- You can’t press mugs with handles that aren’t removeable.
- You need space for the hot tumblers and mats to cool down.
Final thoughts
Whilst it’s not a replacement for my first mug press, (which I’ll keep to do ceramic mugs with handles), I love the high quality prints I am getting with the A200. The ability to heat all the way round and the extension heat plat kit to do larger shaped tumblers and real winners for me. I have so many new ideas I want to try and will continue to put this new machine through it’s paces in my studio.
Get 10% off all HTVRONT products with exclusive code CRAFTCARTWRIGHT10