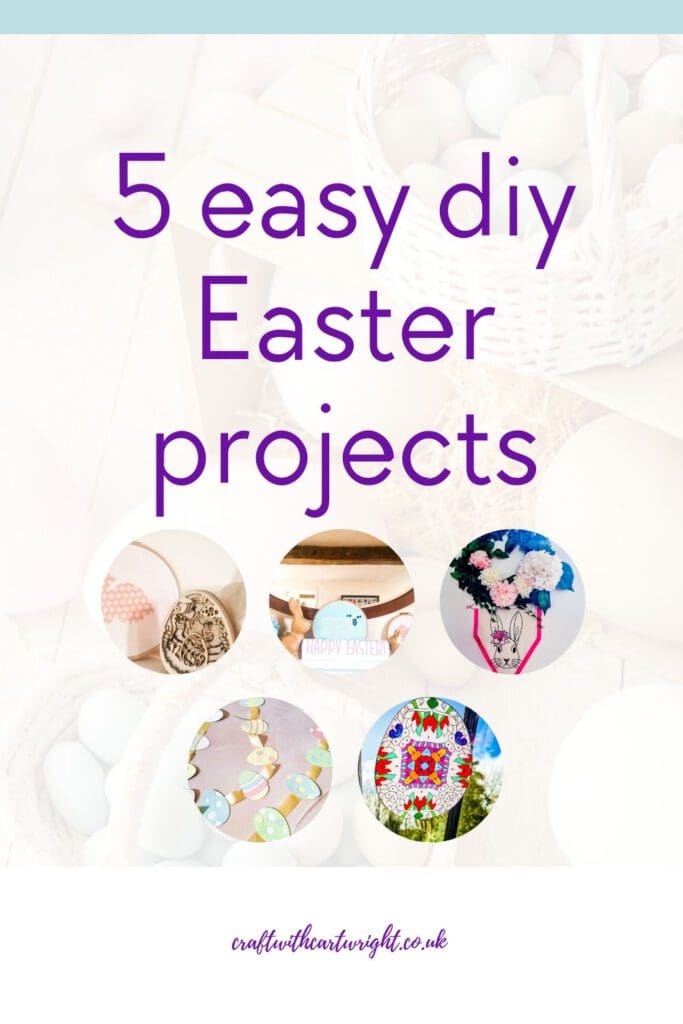
5 easy diy Easter projects

Get creative this Easter with these easy DIY projects! From egg bunting to bunny decorated pennants, there’s something for everyone. With just a few craft supplies, you can make fun and festive Easter decorations that will brighten up your home.

All of these projects I used with free resources from Creative Fabrica, they have everything a crafter could dream of, from free fonts to SVG’s and much more.
So lets get creative this Easter with these easy DIY projects! From egg colouring to bunny crafts, these projects are perfect for the whole family. With a few simple supplies and a bit of imagination, you can create fun memories that will last forever.
Bunny pennant
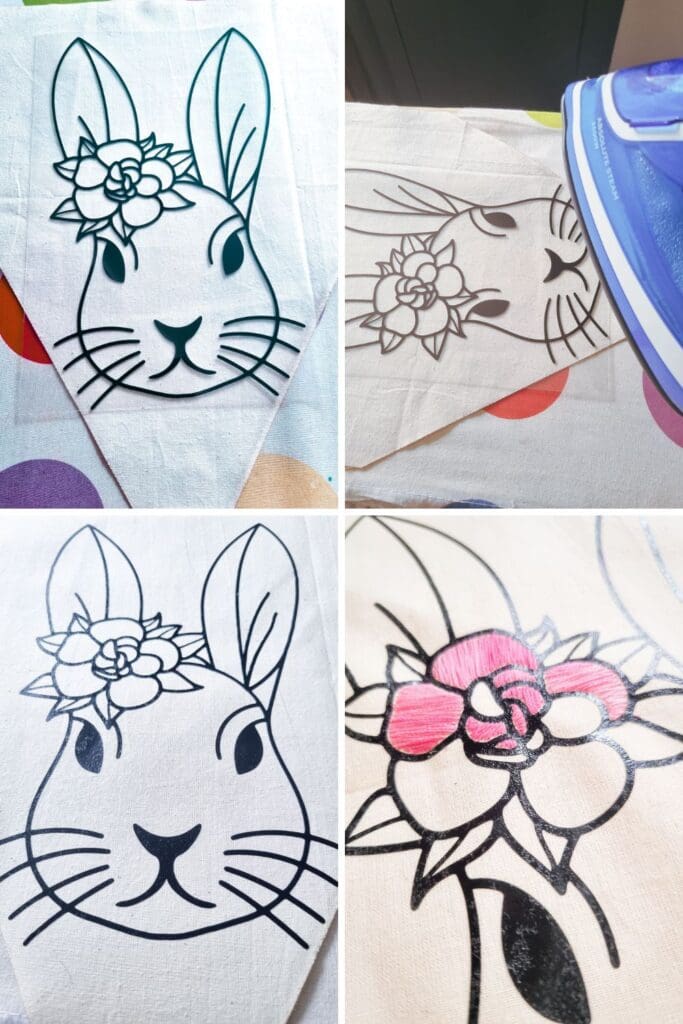
I used my Cricut to cut out the Bunny with Flowers Easter Svg. I used heat transfer vinyl and cut it in black.
Then I transfer the design to a pennant shape I had cut from unbleached calico, with my iron. A heat press would work better but I’m yet to get one!
Then I filled rose design on the bunny with satin stitch using two strands of variegated floss in pink.
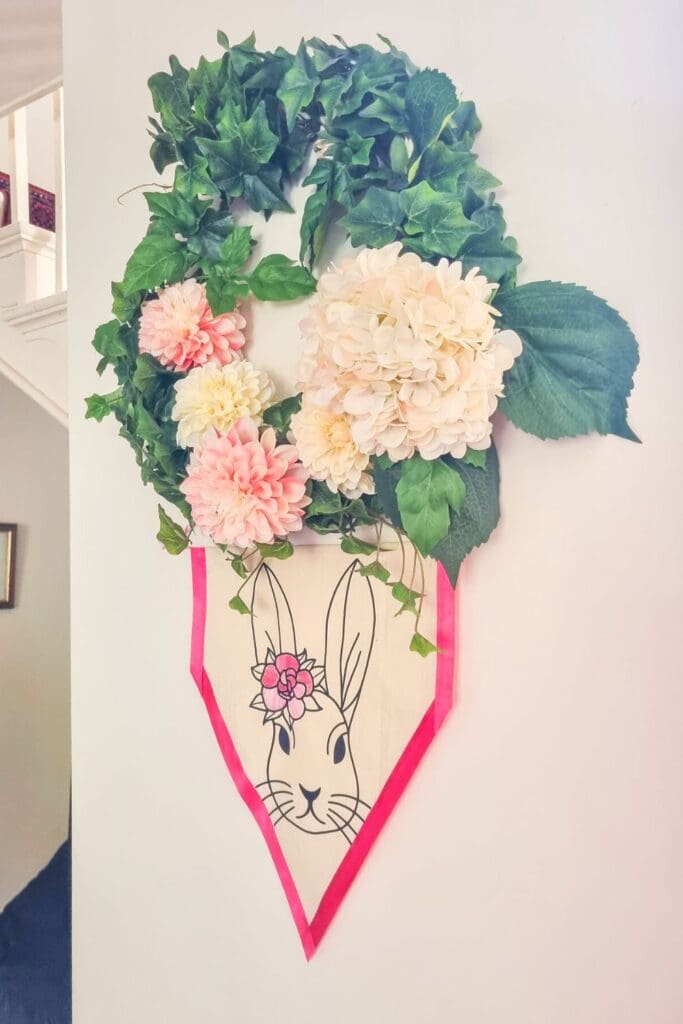
I finally finished the edges with ribbon and added a rod at the top to hang it with.
Egg garland
I cut out multiples of the Easter eggs svg free bundle, in pink, white, blue, yellow and green pastel card using my M1 xTool with the blade function. Once I had cut all the pieces I needed, I mixed up the colours and stuck them together in different combinations.
You can make as many or a few as you need for your garland length. I made 18 in total. Then simply cut a length of ribbon for your garland and using a hot glue gun attached the eggs to the ribbon. Add loops at the end of the ribbon to hang it.

Window decoration
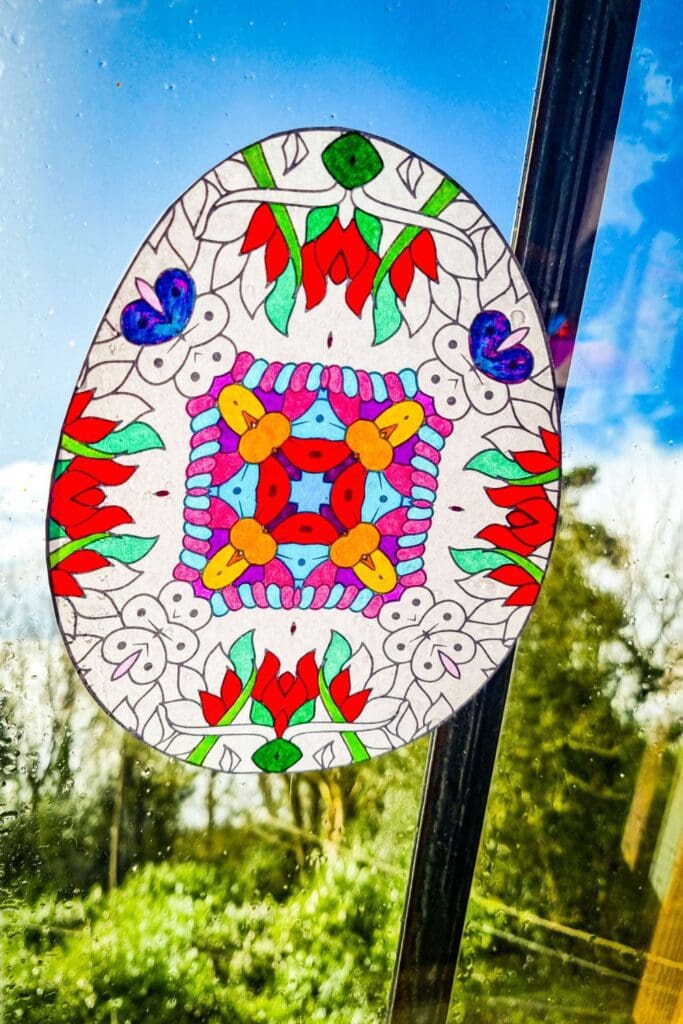
I love a bit of colouring in! This design was taken from Egg colouring book Easter day pack and I coloured it with spectrum noir pens.
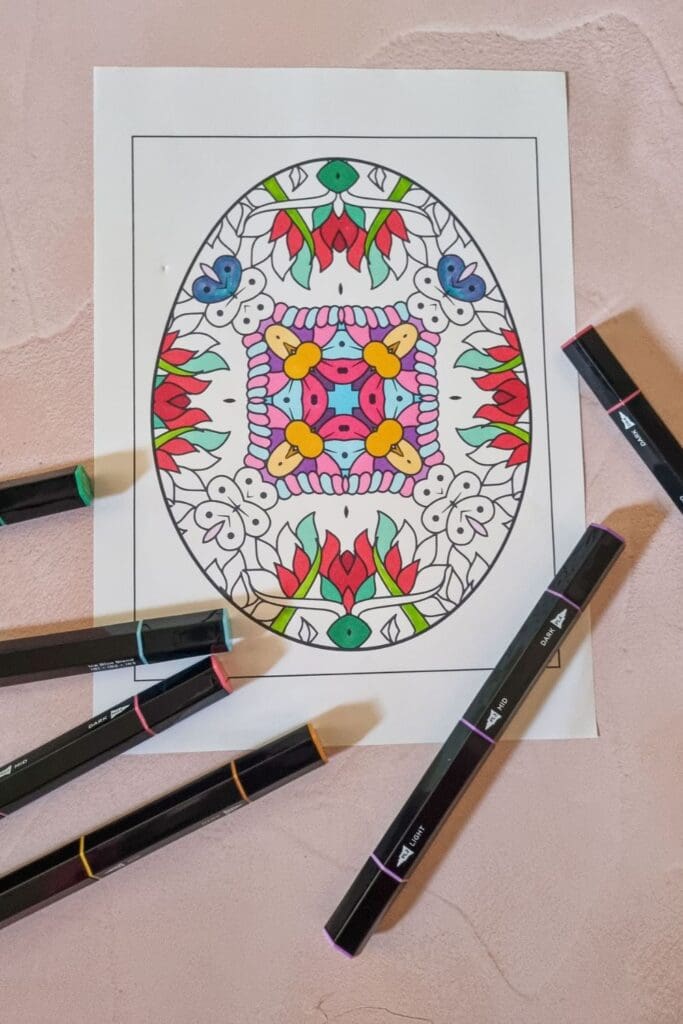
You could leave it as just a beautiful coloured page or you could cut out the egg and using a small piece of double sided sticky tape apply to a window to let the colours shine through like stained glass.
Laser cut ornament
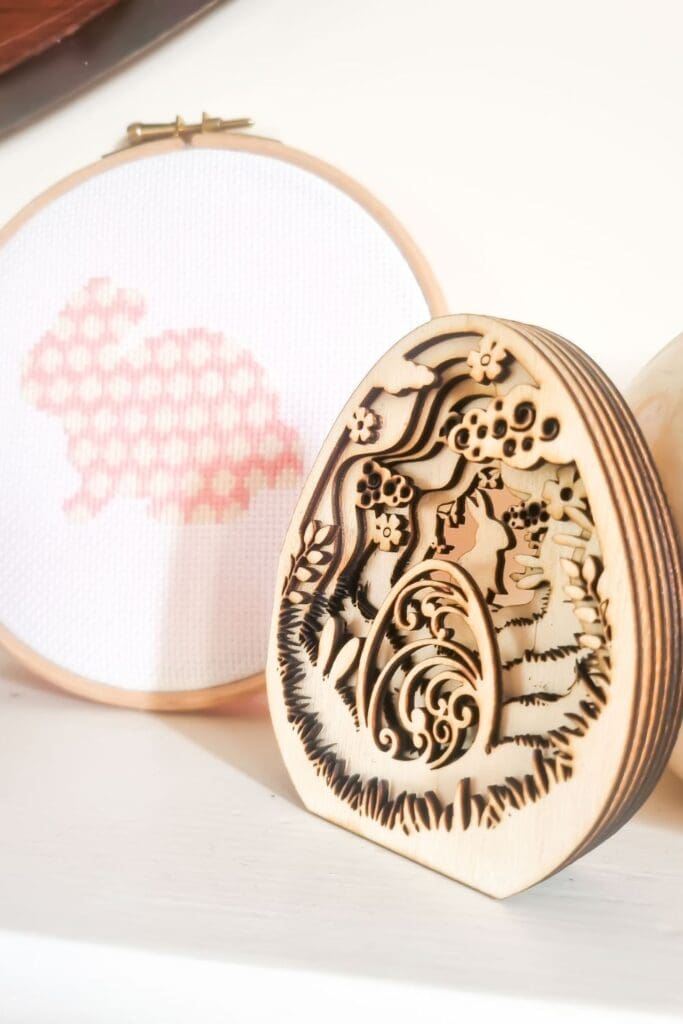
This wooden ornament I cut on my Mr Beam laser cutter using number two design from the 3 eggs Easter craft decoration pack. I cut it from 3mm birch ply and then assembled it with wood glue, making sure to clean up any excess glue as I added the layers.
You could leave it in the natural wood, as I have done or you could paint the layers in pastel spring time colours.
Happy Easter sign
Let’s finish with the easiest craft of my diy Easter projects. A happy Easter sign. This would look perfect on a mantle piece or as part of a larger display on a sideboard. This was so simple to make but I love it! I used the free font Mini Garden and typed out the words Happy Easter.
Then I picked a beautiful pink for it and positioned it to print on the bottom edge of my paper in landscape setting.
Once printed I folded a cm strip inward from the top edge, twice. On the first fold I ran a strip of double sided sticky tape, then secured that on the inside to the bottom edge, making a little stand.
I chose not the fold the top once assembled as I liked the rounded top but you could crease it if desired to make a triangle shape to your sign.

Which project was your favourite?