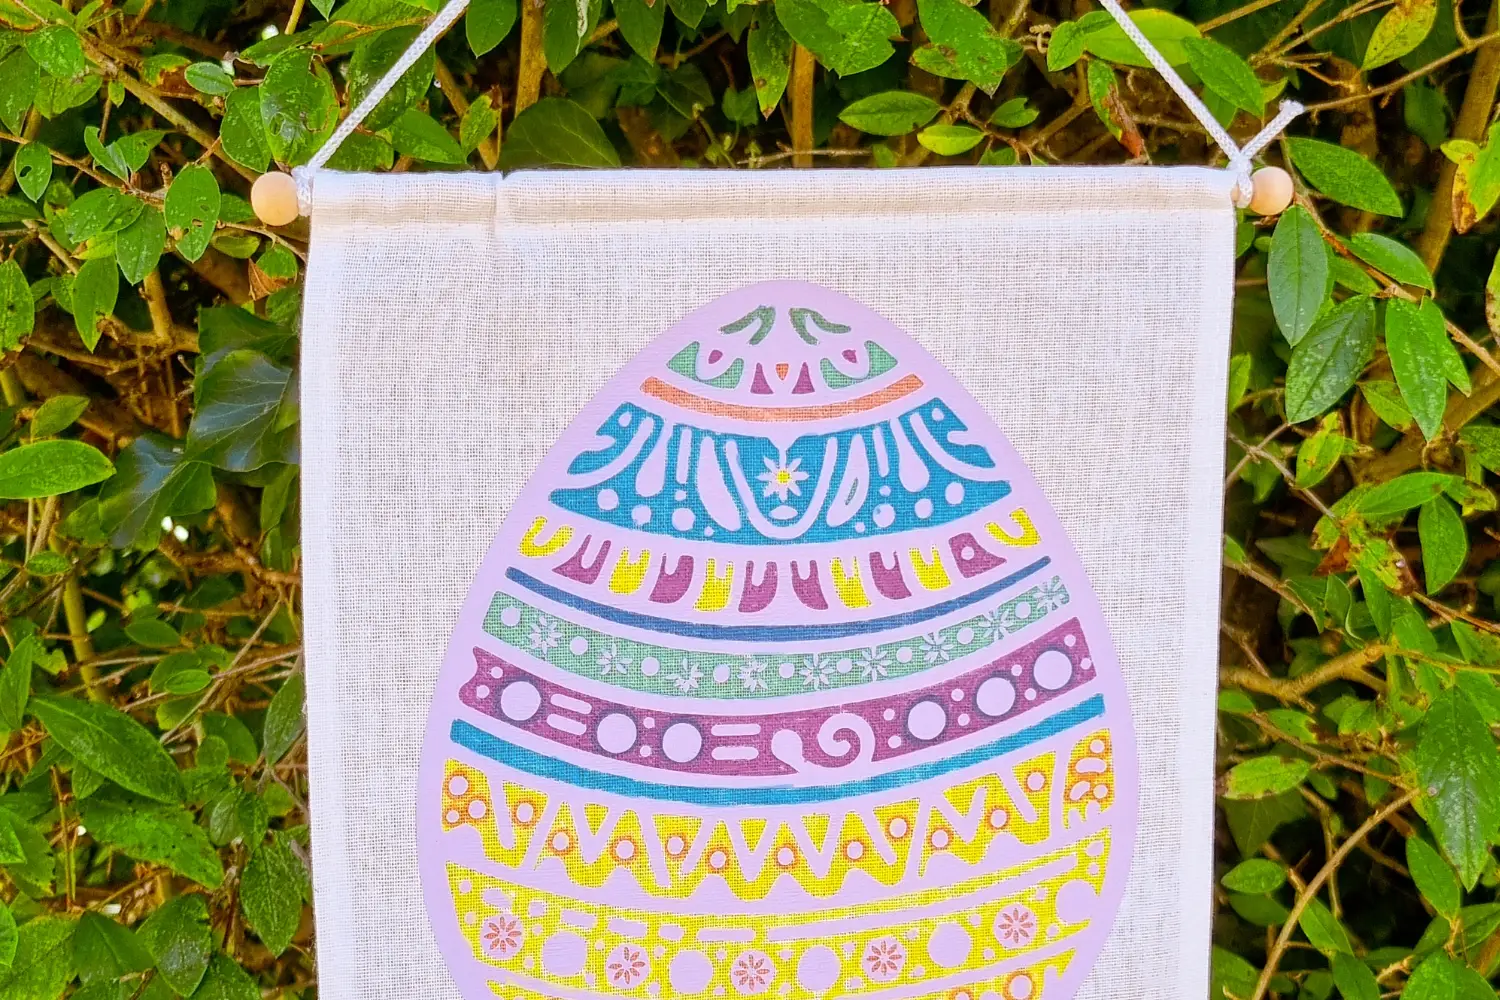
DIY colour your own easter banner

This DIY colour your own easter banner is the perfect project to brighten up your home and keep the kids (or yourself) entertained. It’s quick and easy with a Cricut or similar cutting machine and I’ve included the free SVG at the bottom of this post.

To make your Easter banner you will need:
- Canvas banner
- HTV
- Fabric marker pens
- Cricut or other digital cutting machine
- Heat press or iron
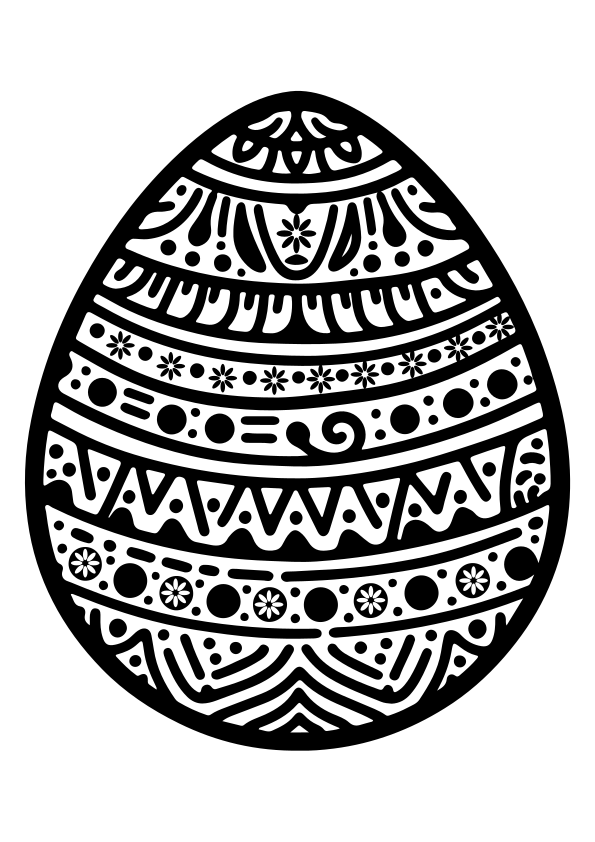
- Easter egg SVG
How to DIY your Easter banner
- Download the free Easter egg SVG from the bottom of this post and upload to your cutting machines design space. Resize to fit your canvas banner. You don’t have to mirror this design if you don’t want to, as it doesn’t have any text.
- Load your machine with HTV in your choice choice. I chose a lilac colour for a Springtime look.
- Press go on your machine and watch it cut out the design.
- Weed the design and press with a heat press or iron onto your canvas banner. (Check with your HTV manufactures instructions for the best time and temperature to press onto canvas. Plus whether it is cool or warm peel, as they all vary)
- Once pressed, use fabric markers to colour in the various sections of the easter eggs. (Some markers require pressing to ‘fix’ them into the fabric. If yours do I recommend using a teflon sheet over the top to avoid damaging the HTV)
- Finally, you can hang your Easter banner and enjoy.
Download your free Easter Egg SVG here