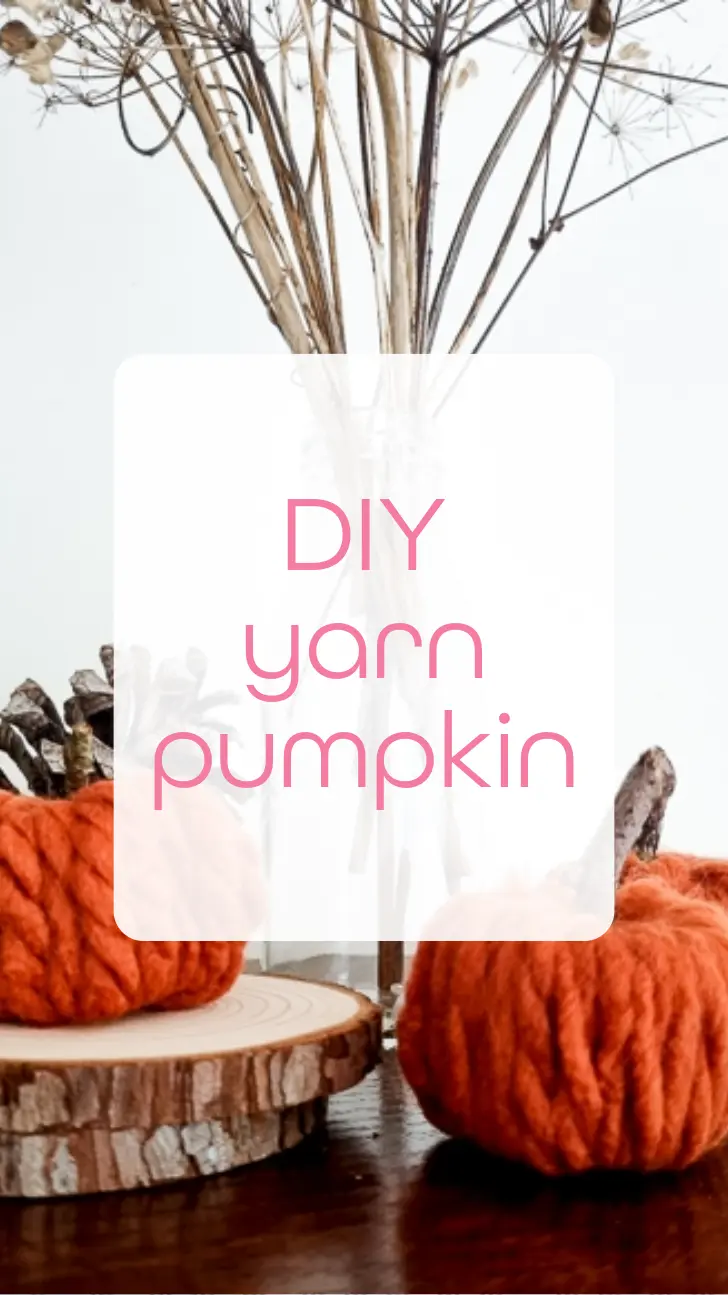
How to Make Yarn Pumpkins for Autumn Decor: A Step-by-Step Guide

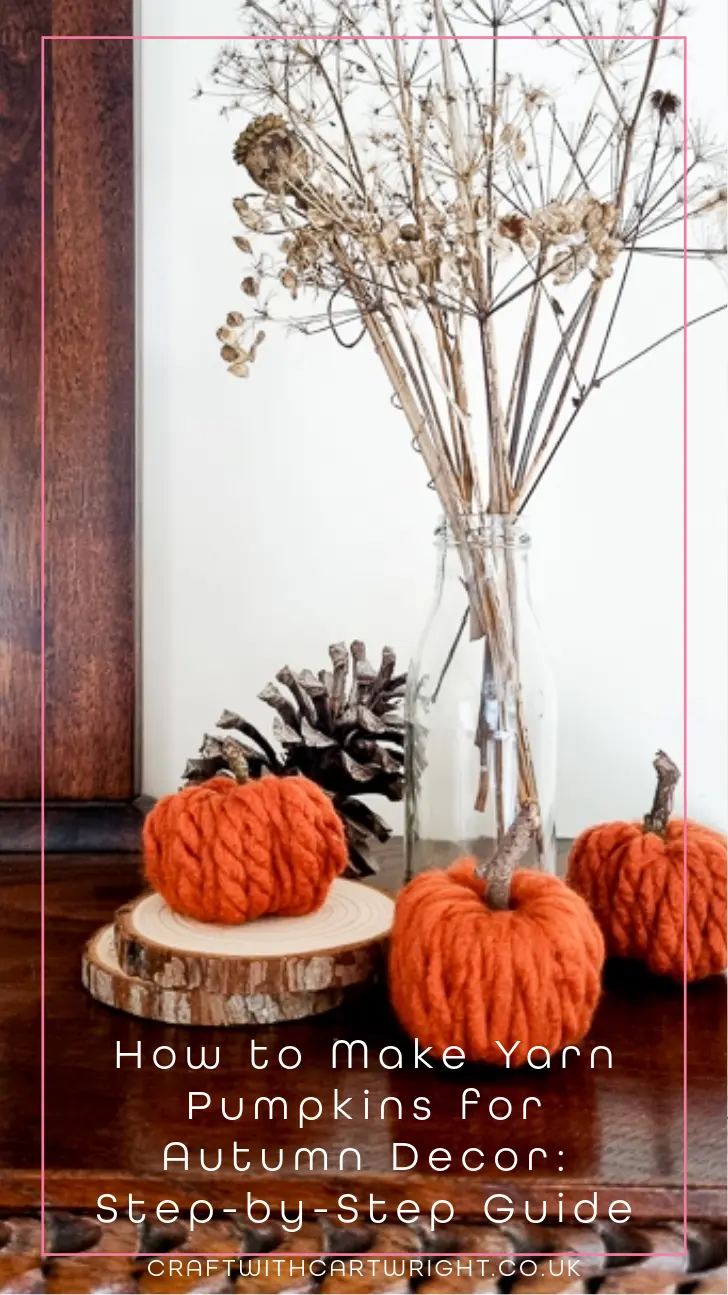
Welcome fall into your home with these adorable DIY yarn pumpkins! They’re simple, fun to make, and a perfect craft for your autumn décor. Whether you’re decorating for Halloween, Thanksgiving, or just embracing the cosy season, these yarn pumpkins will add a rustic charm to any space.
Materials Needed:
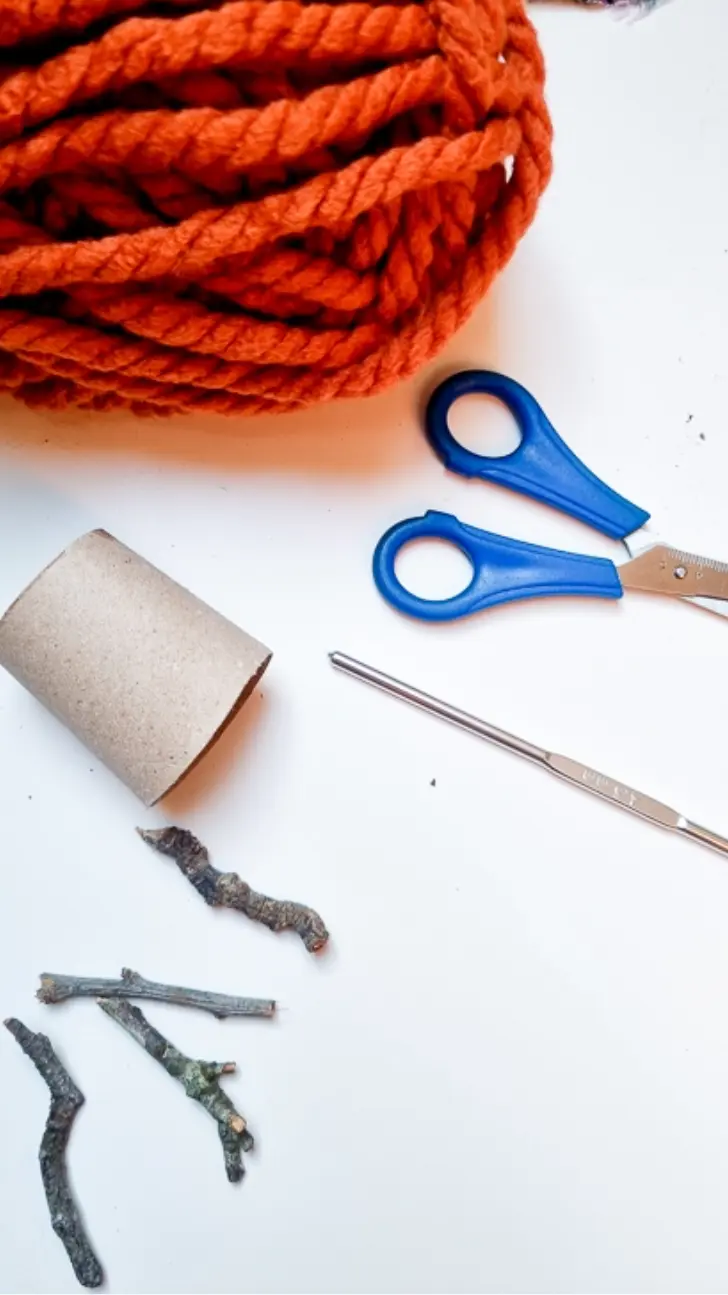
- Toilet roll tubes
- Orange fluffy yarn
- Scissors
- Small sticks or twigs (for the stem)
- Crochet hook (optional)
- Hot glue gun (optional)
Step 1: Prepare the Toilet Roll Tube
Start by cutting the toilet roll tube in half to make two shorter cylinders. Then, make small slits at both the top and bottom edges of each cylinder. This helps the cardboard fold easily.
Step 2: Shape the Pumpkin Body
Now, gently press down on the top and bottom of the toilet roll halves. The slits should allow the edges to fold inwards, flattening the tubes slightly. This will create a pumpkin-like base with a round, flattened shape.
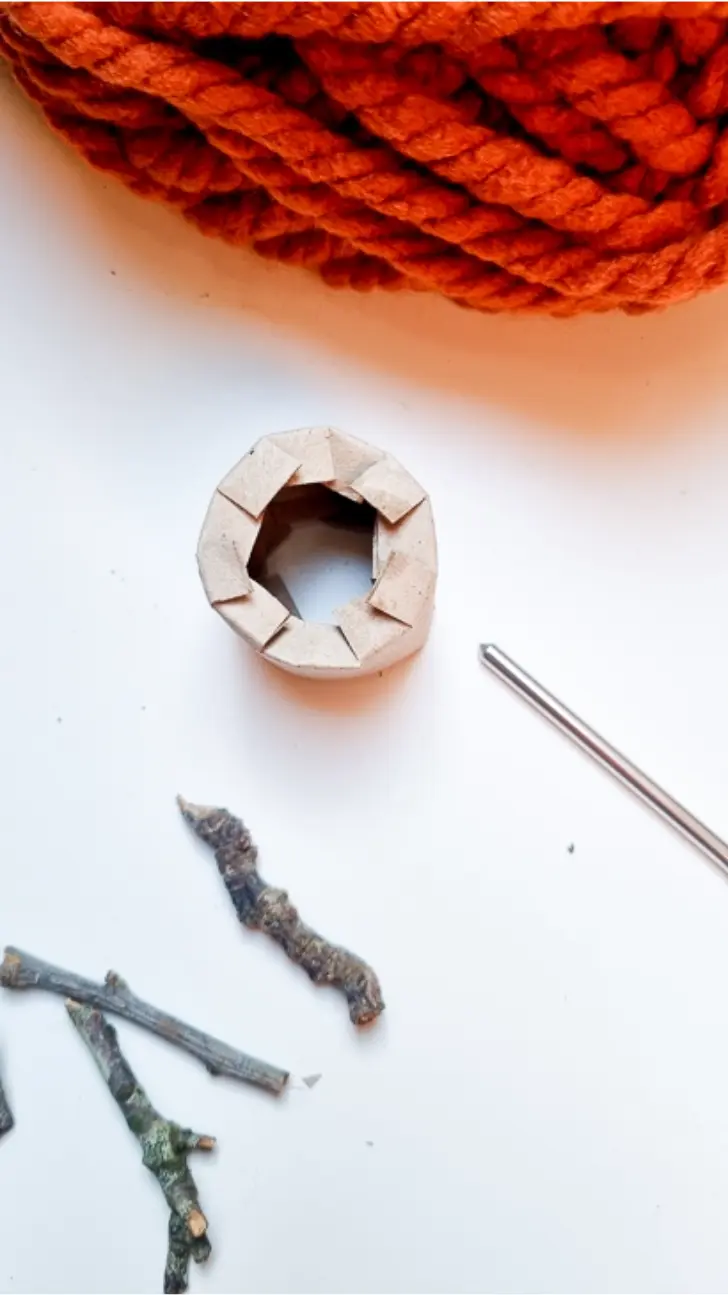
Step 3: Wrap the Yarn
Take your orange fluffy yarn and start wrapping it around the flattened toilet roll. Keep wrapping until the entire cardboard surface is covered and no brown shows through. The fluffier the yarn, the cosier your pumpkin will look!
Pro Tip: use a crochet hook to help you pull the yarn through.
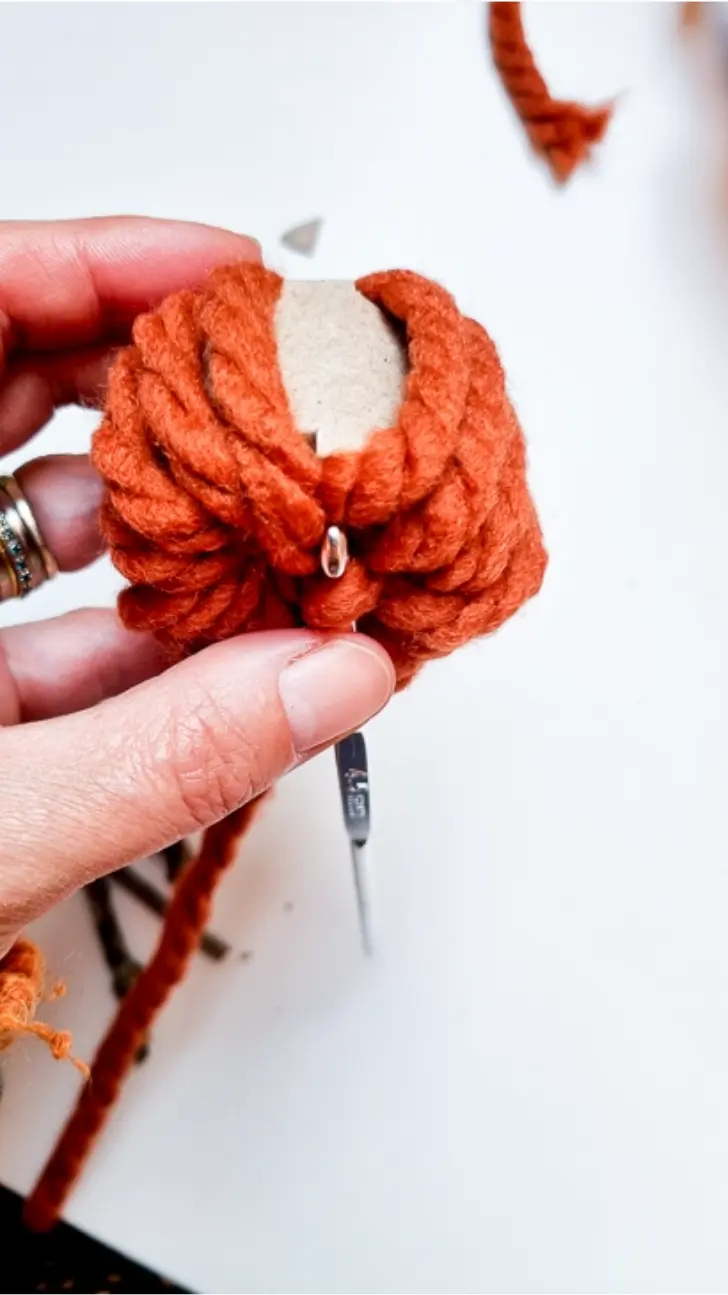
Step 4: Add the Stem
Once your pumpkin is fully wrapped in yarn, it’s time to add the stem. Find a small stick or twig from your backyard (or use a cinnamon stick for a nice scent!). Push the stick into the center of your pumpkin and secure it with hot glue if needed.

Step 5: Fluff and Arrange
Gently fluff up the yarn to give your pumpkin a nice, round shape. If any areas seem uneven, add a little more yarn.
Optional: Customize Your Pumpkin
You can add green felt leaves or tie a little bow around the stem for extra decoration.
Step 6: Display Your Yarn Pumpkins
Your DIY yarn pumpkins are now ready to be displayed! Arrange them on your mantle, in a bowl, or on your dining table for a cozy autumn vibe.

FAQs:
Can I use other colours of yarn?
Yes! While orange is traditional, you can use any colour that fits your décor. Try white for a neutral look or teal for a modern twist.
How long does this craft take?
Each pumpkin should take around 10-15 minutes to complete, depending on how much detail you want to add.
This project is a great way to add handmade, budget-friendly, plastic free charm to your autumn decorations. Let me know in the comments how yours turned out!
Thanksgiving crafter quiz
Want to find out what type of Thanksgiving crafter you are? Take the fun interactive quiz.