bottle cap pincushion tutorial

I love craft and sewing projects that reuse materials and save them from going to landfill. This bottle cap pincushion tutorial is the perfect example. Quick and easy to make, using felt and embroidery thread. Make a whole bunch of them today!

You will need:
- Some sheets of coloured felt
- Embroidery thread
- a Bottle cap
- Fabric glue
- Scissors
- needle
Bottle cap pincushion tutorial

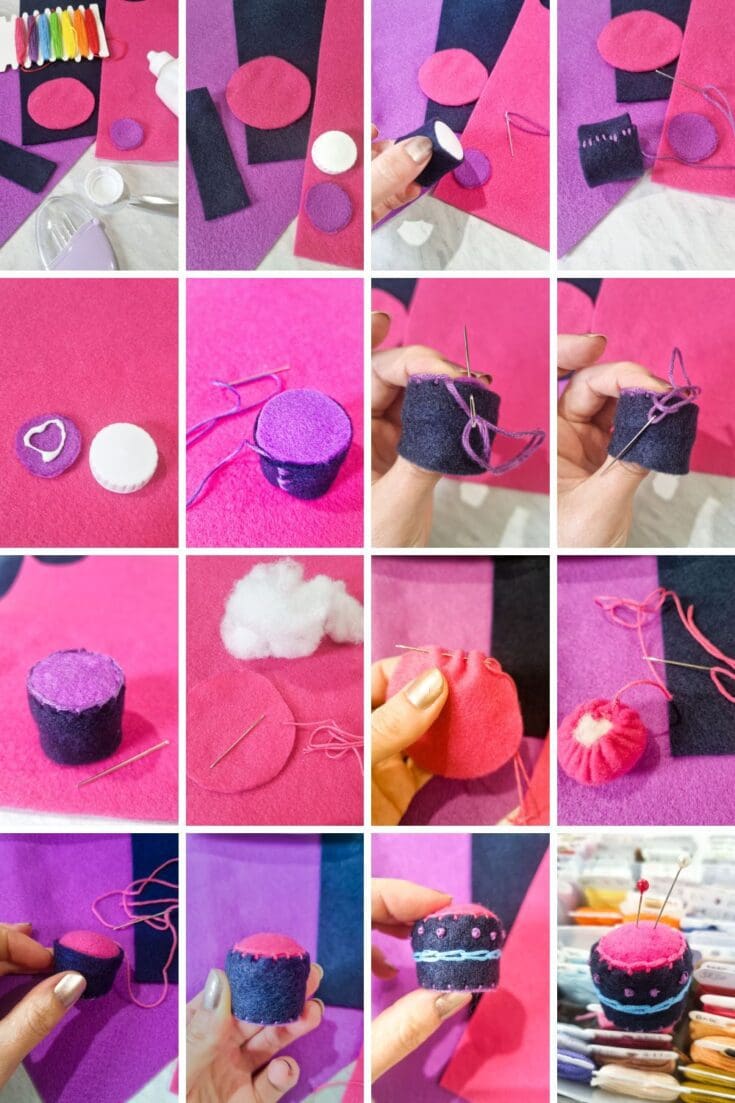
First gather your materials and select the colours of felt you’d like to use. I chose three different colours, pink, lilac and navy blue

Use your bottle cap as a guide to cut your felt pieces.
First stand it on some felt and draw around it and cut it out. This will be the base.
Then measure the diameter and cut out a length slightly longer so it will overlap, this will be the side.
Then cut a circle about 7cm in diameter for the top.

Wrap the length of felt around the side of the bottle cap and with overlapping edges stitch it together.

It should look something like this.

Then add some fabric glue to the small bottom circle and glue that to the base of your bottle cap.
Leave to dry.

Then blanket stitch along the edge joining the base to the side piece.

To do blanket stitch, you basically stitch a running stitch around the outer edge
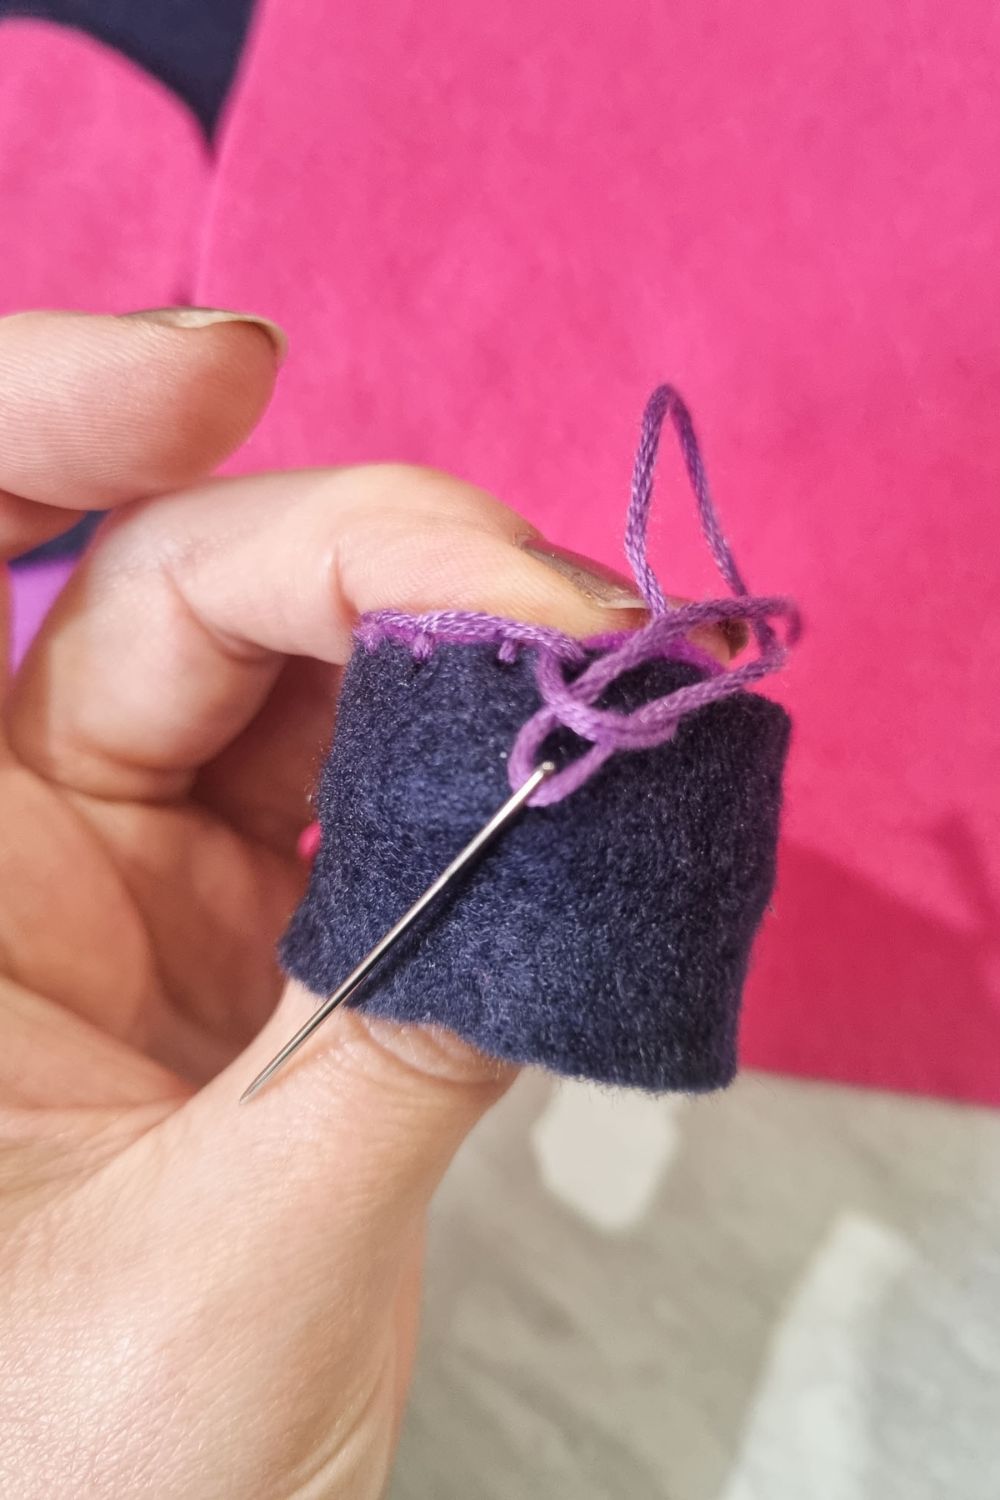
But put your needle through the loop created before pulling tight. I have post on How to do Blanket Stitch
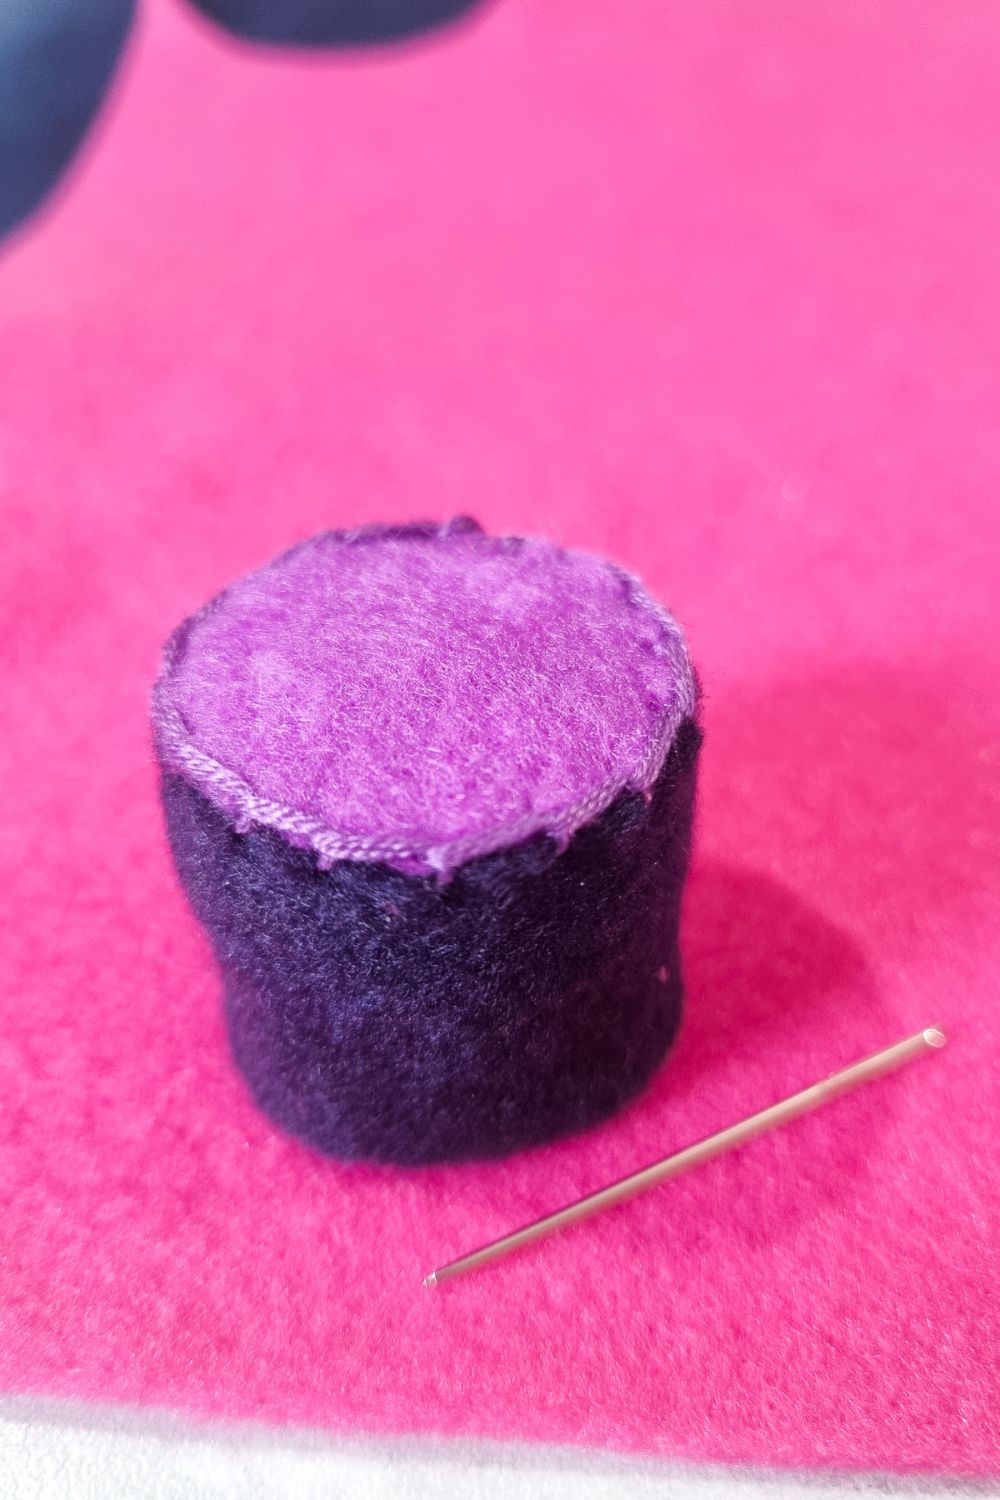
It should then look like this.

Take the larger circle and stitch and running stitch along the outer edge

Pull the thread to close it and insert stuffing.
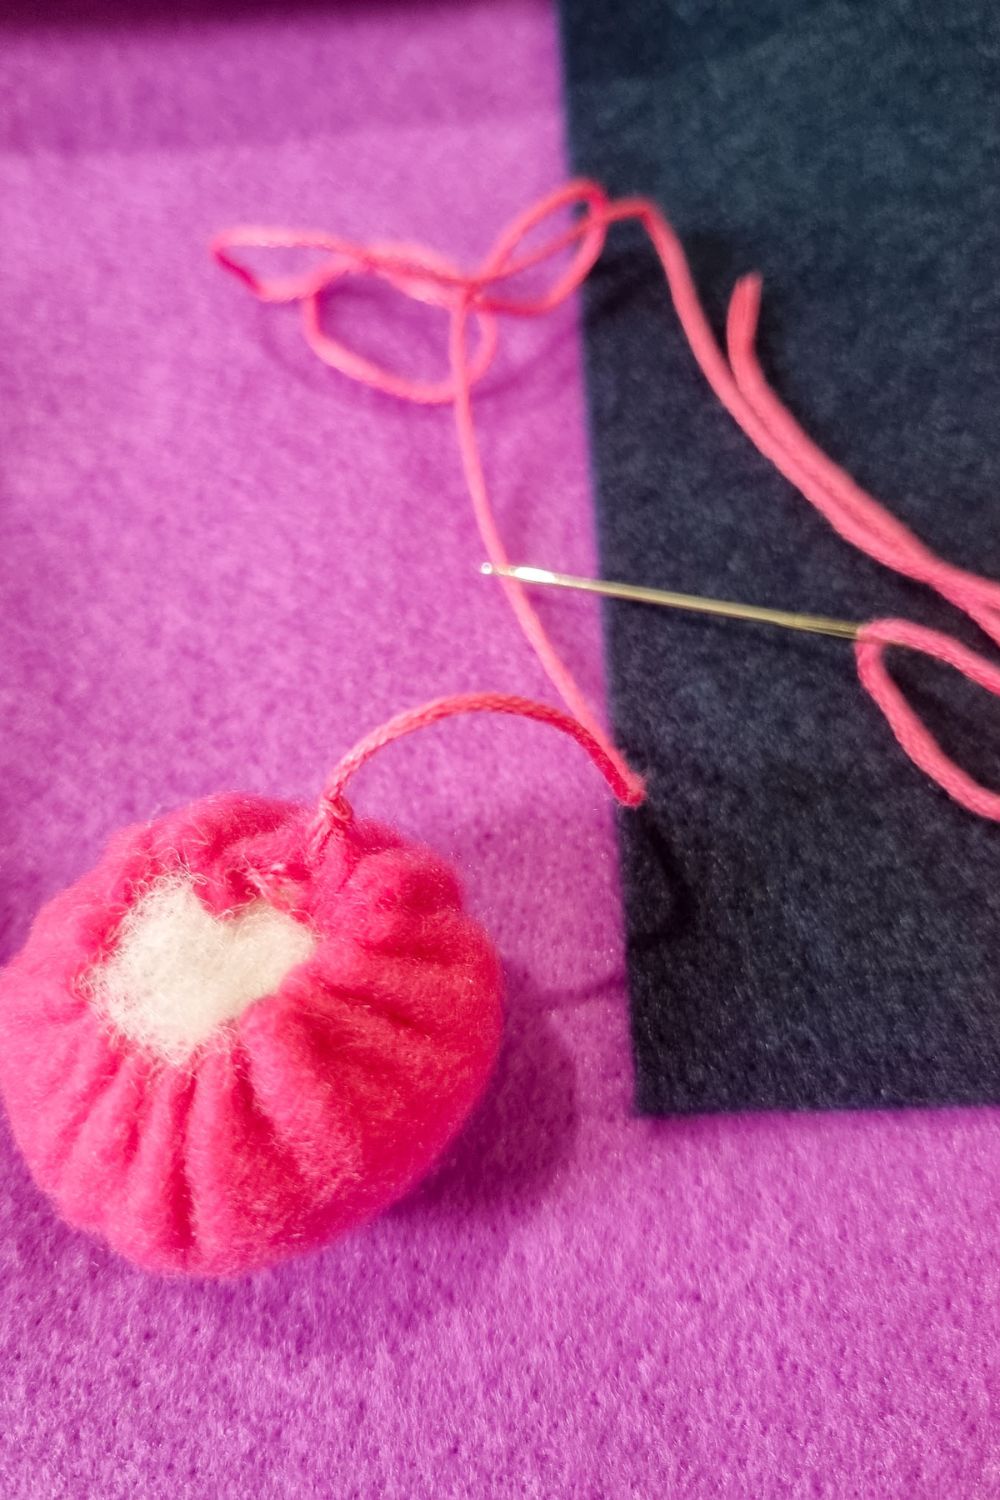
Stitch to secure

Insert that into the top of your bottle cap pincushion and blanket stitch together.

You could now leave it as it is or add some decoration with some embroidery stitches.

I chose to do a boarder of chain stitch and some French knots in contrasting colours to finish it off.

Then all you have to do is add your pins!
bottle cap pincushion tutorial
The perfect mini make. Would be a great gift for a sewer. Find out how to make a bottle cap pincushion with this simple tutorial.
Materials
- Some sheets of coloured felt
- Embroidery thread
- a Bottle cap
- Fabric glue
Tools
- Scissors
- needle
Instructions
- First gather your materials and select the colours of felt you'd like to use. I chose three different colours, pink, lilac and navy blue
- Use your bottle cap as a guide to cut your felt pieces.
- First stand it on some felt and draw around it and cut it out. This will be the base.
- Then measure the diameter and cut out a length slightly longer so it will overlap, this will be the side.
- Then cut a circle about 7cm in diameter for the top.
- Wrap the length of felt around the side of the bottle cap and with overlapping edges stitch it together.
- Then add some fabric glue to the small bottom circle and glue that to the base of your bottle cap. Leave to dry.
- Then blanket stitch along the edge joining the base to the side piece.
- Take the larger circle and stitch and running stitch along the outer edge
- Pull the thread to close it and insert stuffing.
- Stitch to secure
- Insert that into the top of your bottle cap pincushion and blanket stitch together.
- You could now leave it as it is or add some decoration with some embroidery stitches.
- I chose to do a boarder of chain stitch and some French knots in contrasting colours to finish it off.
- Then all you have to do is add your pins!