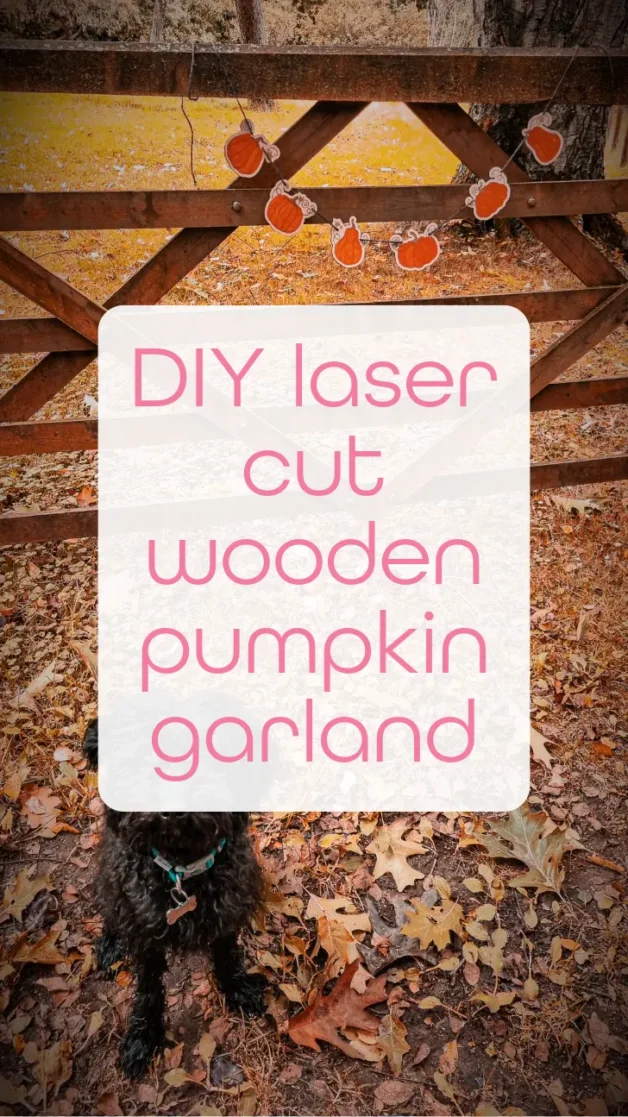
DIY laser cut wooden pumpkin garland (+ SVG)

How to make a DIY laser cut wooden pumpkin garland. Step by step guide to laser cutting and engraving pumpkins out of plywood and then bringing them to life with vibrant chalk markers. Plus, grab the SVG file for free, so you can create your own set of pumpkins at home!

Free pumpkin garland SVG File:
To get started with your own set of wooden pumpkins, download the free SVG files here.
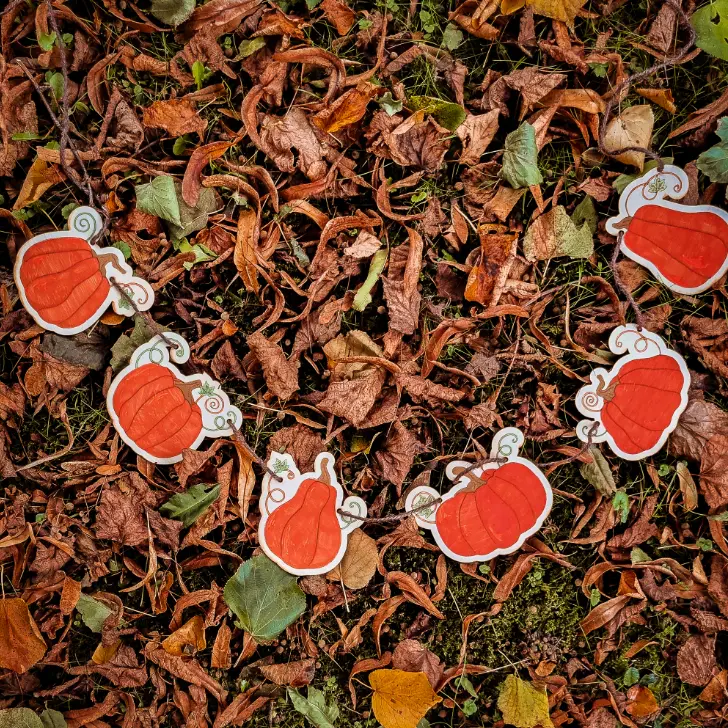
Materials Needed:
- Plywood (I used 3mm for a lightweight, easy-to-cut option)
- Laser cutter
- Chalk markers (I used oranges, copper, and green, but feel free to experiment with colours)
- Downloadable SVG files (Get them at the bottom of this post)
- Brown twine or ribbon
Step-by-Step Tutorial:
- Download the SVG Files
To get started, download the free pumpkin SVG files. These designs include a variety of pumpkin shapes - Prepare the Plywood
Make sure your plywood sheet is securely placed in your laser cutter’s bed. I recommend using 3mm plywood as it’s sturdy but still easy to cut and engrave. - Upload the SVG Files to Your Laser Cutter Software
Import the downloaded SVG files into your laser cutter software. You can resize and adjust the designs based on your preference. Engrave the details of the pumpkin shapes and cut around the outlines and hanging holes. - Cut and Engrave the Pumpkins
Set your laser cutter to the correct settings for cutting and engraving plywood. For my 3mm plywood. - Sand the Edges (Optional)
If you notice any rough edges or strong scorch marks after cutting, lightly sand the sides of the pumpkins to smooth them out. - Colour the Pumpkins with Chalk Markers
Once your wooden pumpkins are cut and engraved, it’s time for the fun part—colouring! I used chalk markers to add a colour in a mess free way, you could however choose acrylic paints instead. Here’s what I did: Oranges for the Pumpkin Body, Copper for stalks and stems, Green for the leaves - Seal Your Design (Optional)
If you want to use these pumpkins outside or in a high-traffic area, consider sealing them with a clear spray sealer to protect your coloring. - Display Your Wooden Pumpkins
Your wooden pumpkin decorations are now coloured, thread them on to twine to hang in place!
Halloween crafter quiz
Want to find out what type of Halloween crafter you are? Take the fun interactive quiz.

Love this free SVG?
Explore even more creative designs in my Ko-Fi shop! Discover a treasure trove of unique projects, sublimation and SVG’s that will inspire your next project. Visit my shop now to unlock endless creative possibilities.