How to Sublimate a Pencil Case: Guide for Beginners

With back-to-school season just around the corner, it’s the perfect time to make something unique for yourself, your kids, or as a thoughtful gift. In this guide, I’ll walk you through the entire process of how to sublimate a pencil case. From selecting the right blank to applying your design. This project is perfect for beginners and can be done in just a few easy steps.
What You Need to Get Started
Before diving into the process, it’s important to gather all the necessary materials. Here’s what you’ll need:
- Blank Sublimation Pencil Case: Look for a pencil case made specifically for sublimation. These usually come in polyester fabric with a smooth, white surface ideal for transferring vibrant images. Make sure the case has a zipper for that classic pencil case look. Check out themagictouch for blanks.
- Sublimation Printer: If you’re new to sublimation, a dedicated sublimation printer is a must. This type of printer uses special sublimation ink, which is key to creating long-lasting designs. I use the Sawgrass SG500.
- Sublimation Ink: Regular printer ink won’t work for this process. You need sublimation ink, which turns into gas when heated and bonds with the polyester fabric of the pencil case.
- Sublimation Paper: This special paper holds the sublimation ink until it’s transferred onto the pencil case. It’s designed to release the ink when heated, allowing for a clean and crisp transfer.
- Heat Press: A heat press is essential for sublimation. It provides the necessary temperature and pressure to transfer your design from the sublimation paper to the pencil case. A small, flat heat press works well for this project. I have the cricut easypress 3.
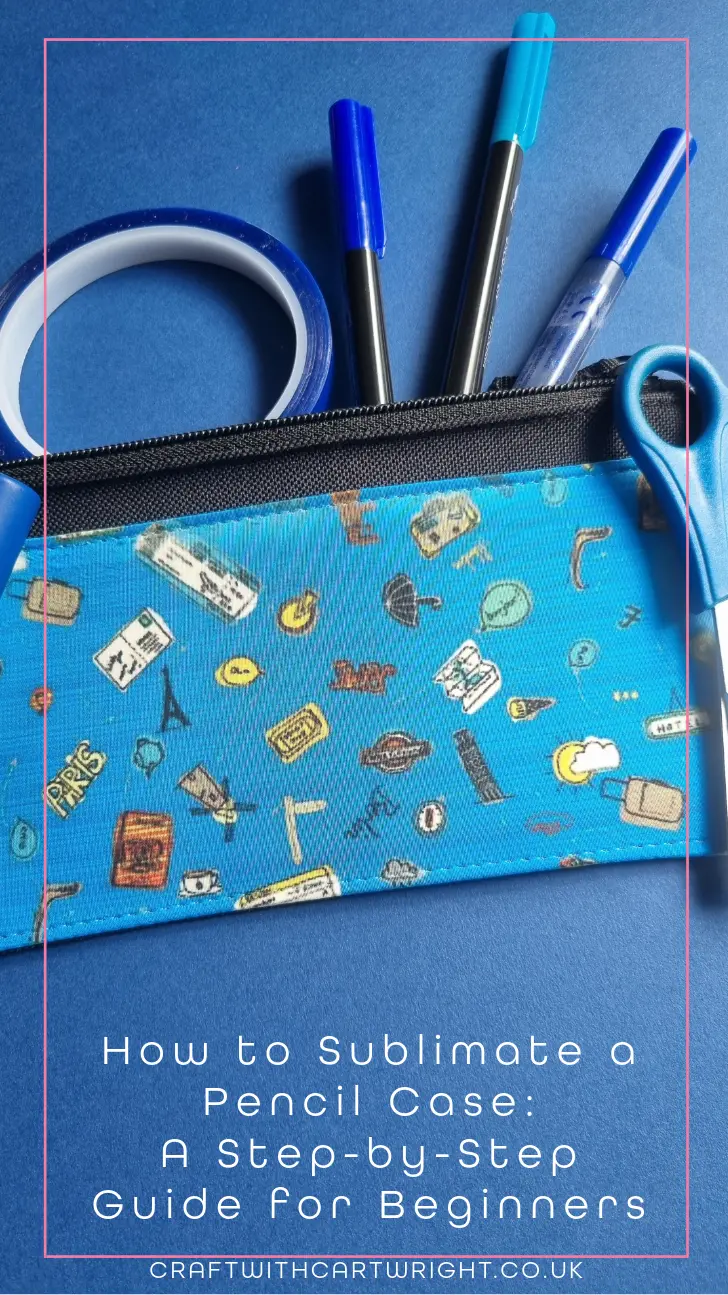
- Heat-Resistant Tape: To ensure your design stays in place during the transfer process, heat-resistant tape is a great tool.
- Protective Paper or Teflon Sheet: This helps to protect your heat press and pencil case from any excess ink during the sublimation process.
Step-by-Step Process for Sublimating a Pencil Case
Now that you have all your materials ready, let’s get started with sublimating your pencil case.
- Choose and Prepare Your Design Start by selecting the design you want to sublimate onto your pencil case. If you want to recreate my design. Sign up for my beautiful Europe-themed design that’s perfect for a pencil case at the bottom of this post. Once you’ve downloaded your free design, open it in your preferred design software. Adjust the size to fit your pencil case, ensuring it’s within the printable area.
- Print Your Design on Sublimation Paper After finalising your design, it’s time to print. Make sure your sublimation printer is loaded with sublimation ink and paper. Print the design in mirror image mode, especially if it contains any text. This way, when it’s transferred onto the pencil case, it will appear the correct way around.
- Prepare the Pencil Case for Sublimation Place the blank sublimation pencil case on a flat surface. Make sure the surface is clean and free of dust or debris, as these could interfere with the transfer. Position your printed design face down onto the pencil case, ensuring it’s aligned correctly. Use heat-resistant tape to secure the design in place, so it doesn’t shift during the pressing process.
- Heat Press Setup Preheat your heat press to the required temperature. Typically, sublimation onto fabric requires a temperature of around 190°C (375°F), but it’s always best to check the recommendations for your specific blank pencil case. Once the heat press reaches the correct temperature, place a protective paper or Teflon sheet on the bottom plate to prevent any ink from transferring onto the press.
- Pressing Your Design Place the pencil case, with the sublimation paper taped to it, onto the heat press. Cover it with another piece of protective paper or Teflon sheet to ensure an even transfer. Close the heat press and apply medium pressure for about 60 seconds. Timing can vary depending on the specific materials you’re using, so consult your blank’s instructions for the best results.
- Remove and Reveal Once the time is up, carefully lift the heat press and remove the paper. Be cautious, as it will be hot. Allow it to cool for a few moments, then peel off the sublimation paper to reveal your newly personalised pencil case. The colours should be vibrant, and the design should be seamlessly integrated into the fabric.
Tips for Beginners
- Practice on Scrap Fabric: If you’re new to sublimation, consider practicing on a scrap piece of polyester fabric before working on your pencil case. This can help you get a feel for the process and make any adjustments necessary to your technique.
- Check the Alignment: Ensuring your design is correctly aligned on the pencil case is crucial. Take your time to position the paper accurately and use plenty of heat-resistant tape to keep it in place.
- Use High-Resolution Images: Sublimation works best with high-resolution images. This will ensure that your design looks sharp and detailed once transferred.
Download your free design