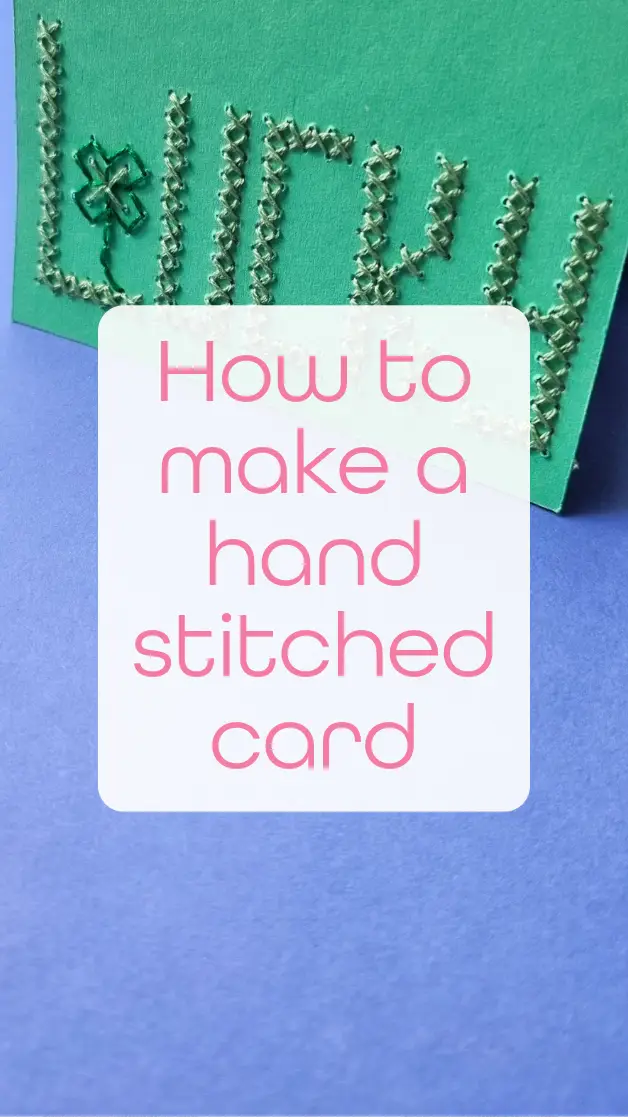
How to make a hand stitched card

Bored of stitching on aida and linen? Why not try stitching your favourite designs straight onto a card for a fun and personal card.

What you’ll need
- A blank card or piece of folded cardstock
- paper to line the card
- Printed Cross stitch pattern (I used the lucky design from my St Patricks day motifs)
- Cork mat or foam pad for piercing
- Pin or embroidery needle (for punching holes)
- Embroidery thread
- Needle
- Tape (optional: for securing thread at the back)
How to make a stitched card
- Print your template
Find a suitable cross stitch pattern that would look good on a card, print it out making sure that it is scaled to fit the size of card you’d like to make.
Place the card onto a cork mat or foam pad to protect your surface.
- Pierce the Stitching Holes
Using a pin or sharp needle, carefully pierce holes for each corner of the squares making up your design.
Once all the holes are pierced, remove the template and you’re left with the dotted outline ready for stitching.
- Stitch Your Design
Thread your needle with embroidery floss, two strands is what I would recommend.
Secure the tail of your thread at the back of the card by stitching over it or using the loop method.
Use cross stitch to embroider along the pierced holes.
When you finish a section, tuck you loose end under some of the stitches. You can tape the end of the thread down at the back if you wish.
- Finishing Up
Once all the stitching is done, add an extra piece of paper inside to cover the stitches and create a neater writing surface.
Top tips
- Don’t pull the thread too tight or the card might buckle.
- Avoid knots! The loop start and tape are faster and neater for starting and finishing this type of project.
- A cork board is really helpful for safely piercing holes.
Want to try it yourself?
Want the Lucky design I used for my card? Download the pattern below