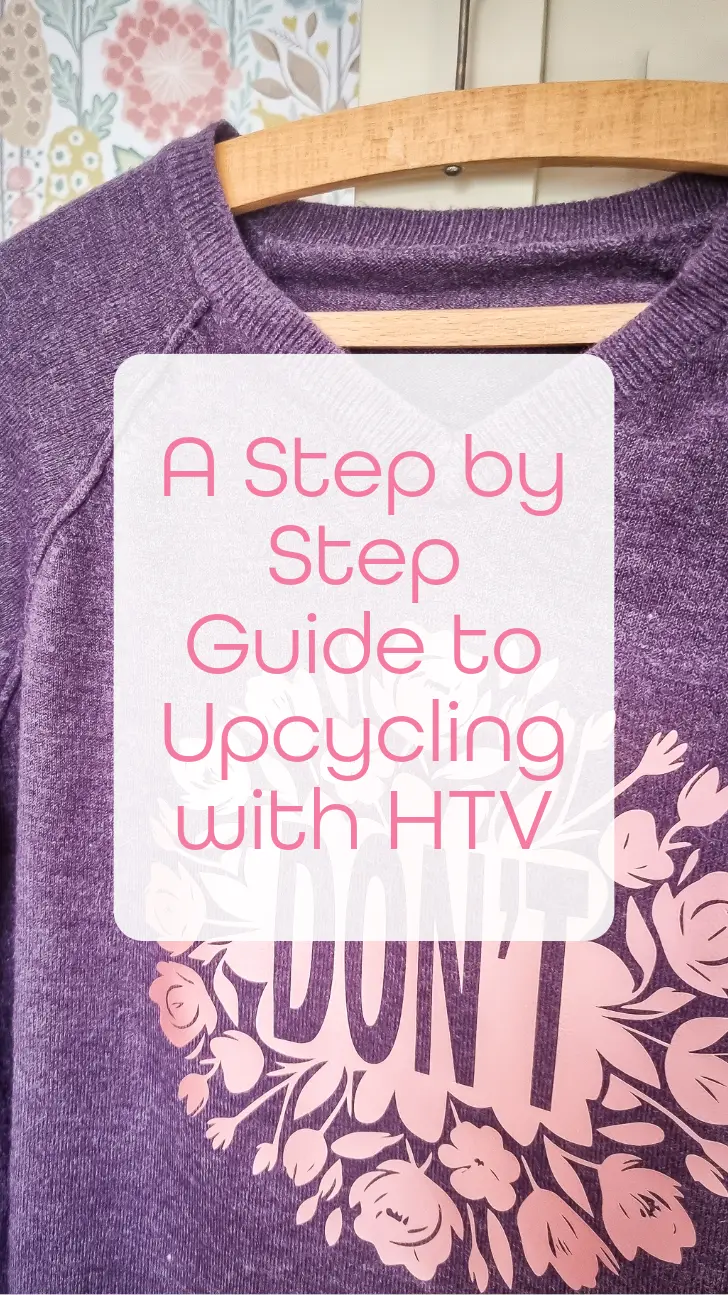
A Step-by-Step Guide to Upcycling with HTV (Transform Your Old Jumper)

I’m not one for throwing things out, so when I spied this jumper that no longer fitted my husband, I knew it was the perfect upcycle for me. With a little creativity and some heat transfer vinyl (HTV), you can breathe new life into your old sweaters and create unique, personalized pieces that you’ll love to wear. In this guide, I’ll walk you through the process of upcycling a jumper with HTV, turning it into a new fun garment that reflects your personality.

Materials Needed:
- Old jumper (one with short pile or a sweatshirt)
- Heat transfer vinyl (HTV) in your desired colour
- Cutting machine (such as a Cricut or Loklik)
- Heat press or iron
- Scissors
- Weeding tool
Step 1: Choose Your Design
Before you start upcycling your jumper, think about the design you want to create. Whether it’s a simple monogram, a fun graphic, or a snarky quote, the possibilities are endless with HTV. You can either create your own design using design software or choose from pre-made designs available in my svg library.
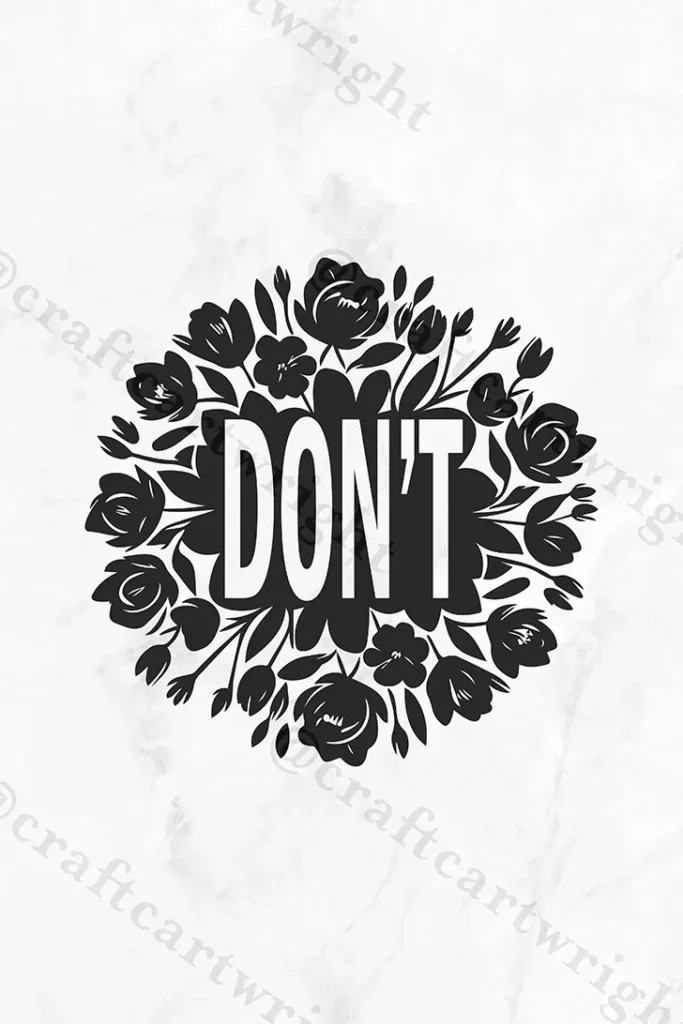
I chose my DON’T feminist svg file as its really resonating with me at the moment. I picked out a beautiful rose gold HTV for the floral design as I thought it went well with the purple of the jumper.
Step 2: Prepare Your Jumper
Lay your old jumper flat on a clean, stable surface. Smooth out any wrinkles to ensure a flat working area. It’s also a good idea to run a lint roller over it remove any dirt or fluff that may interfere with the adhesion of the HTV.
Step 3: Cut Your HTV
Using your cutting machine, cut out your design from the HTV. Make sure to mirror your design before cutting, especially if it contains text or any directional elements like my DON’T design. This step is crucial for ensuring that your design appears correctly when transferred onto the jumper.
Step 4: Weed Your Design
Carefully weed out the excess vinyl from around your design using scissors or a weeding tool. Take your time with this step to ensure that only the desired parts of your design remain on the HTV backing. A lot of people find weeding HTV easier than removeable vinyl.

Step 5: Position and Press
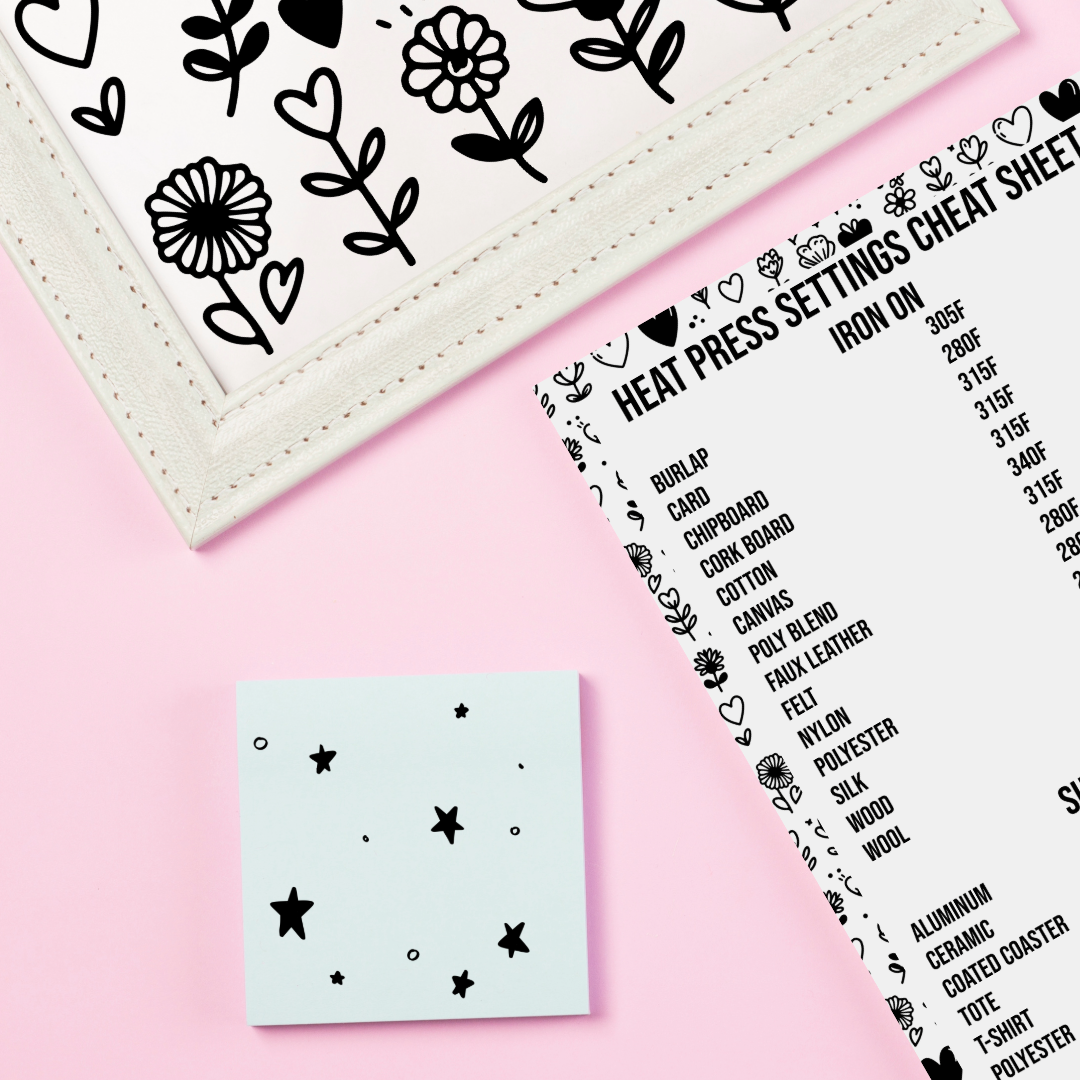
Position your weeded HTV design onto the desired location on your jumper. You can use a tshirt ruler to help with alignment. Once you’re happy with the placement, follow the instructions provided with your HTV for the correct temperature and pressing time. Whether you’re using a heat press or an iron, apply firm pressure evenly across the design.
Step 6: Peel and Enjoy
Following your HTV instructions. Allow your jumper to cool for a few seconds before carefully peeling off the clear carrier sheet from the HTV. Admire your handiwork as your old jumper transforms into a personalized masterpiece! Wear your upcycled creation with pride and show off your unique style to the world.
Upcycling your old jumper with HTV is a fun and creative way to breathe new life into your wardrobe. With just a few simple steps, you can turn a neglected garment into a personalized fashion statement that reflects your individuality. So grab your old jumpers, unleash your creativity, and get ready to upgrade your style game with this fun and easy DIY project!
Download the free DON’T svg file here