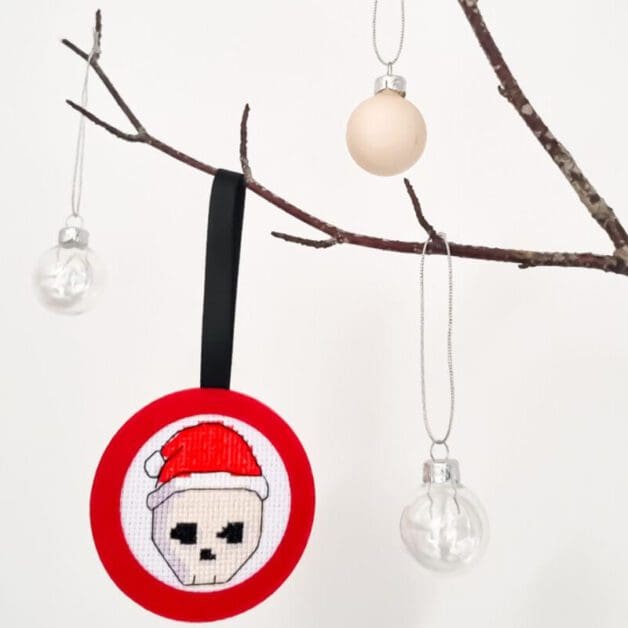
How to make No-Sew Cross Stitch Ornaments

Are you passionate about cross stitching but dread the finishing part? If so, you’re in for a treat! I’ve put together an in-depth guide on how to create beautiful no-sew cross stitch ornaments quickly and easily. This comprehensive tutorial will walk you through the process, allowing you to display your creativity without the need for a needle and thread.

Gathering Your Materials
You will need:
- acrylic felt in colour of your choice,
- cutting template,
- ribbon,
- fabric glue,
- scissors (or cricut or laser cutter),
- heavy book,
- completed cross stitch design (I used my santa skull pattern)
Download the template here

Choosing Your Design and Pattern:
Picking the perfect cross stitch design is a crucial step in creating visually appealing ornaments. Choose small designs that can be sewn quickly and will hang without too much weight. Why not browse the 3 inch cross stitch patterns collection for some ideas.
Adapting the pattern:
I’ve created a template that is the perfect fit for my Santa skull pattern and any other design that is smaller than 3” in diameter. You can download the template at the bottom of this post. If you need to adapt the template, ensure that the opening circle is slightly wider than the diameter of your design. Then add one inch to the diameter to create the outer edge size.
Adhering the Stitching:
Once the template has been used to cut out the front and back of your cross stitch ornament frame.
Trim the design to slightly smaller than the outer edge diameter of the felt.
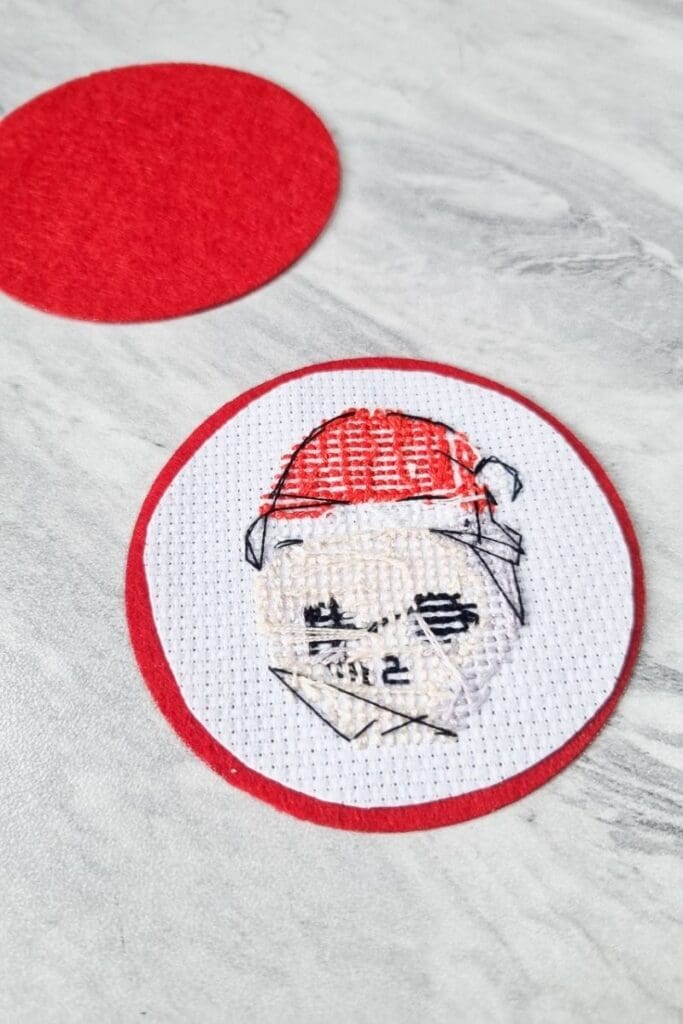
Glue in place with a small amount of fabric glue around the outer edge.
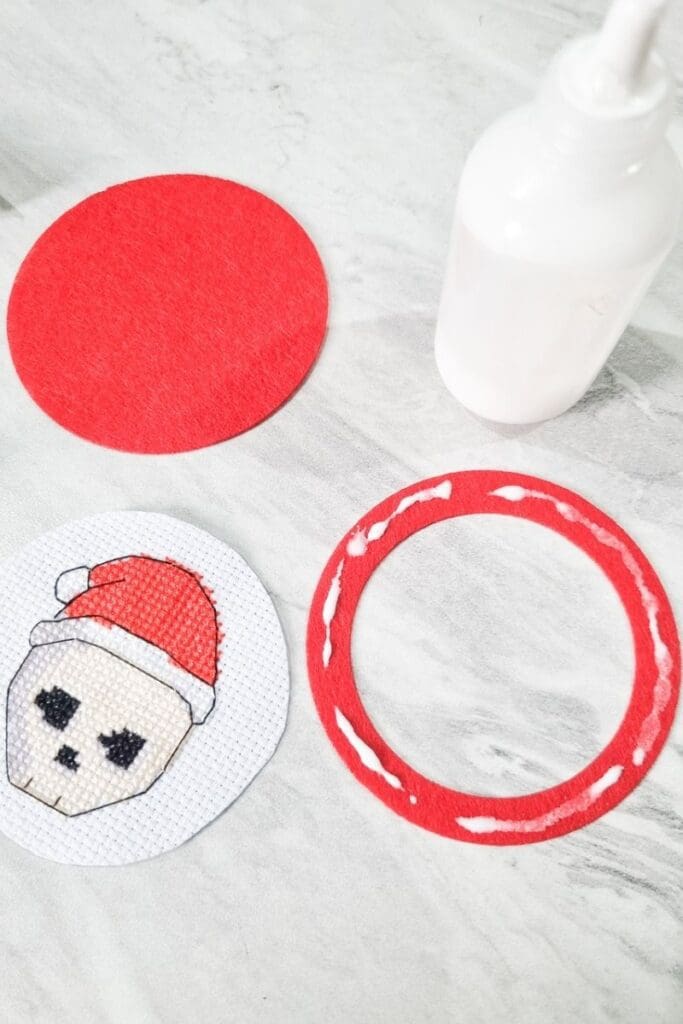
Then glue in the ribbon folded in half.

Finally glue the backing circle in place.

Place a heavy book over the ornament to ensure it dries flat.
Finishing Touches:
If you did want to sew to finish the project, you could blanket stitch around the outer edge.

Displaying Your Masterpieces:
Hang on your Christmas tree, display branch or even from cupboard handles and door knobs!