DIY Cricut Sewing tidy

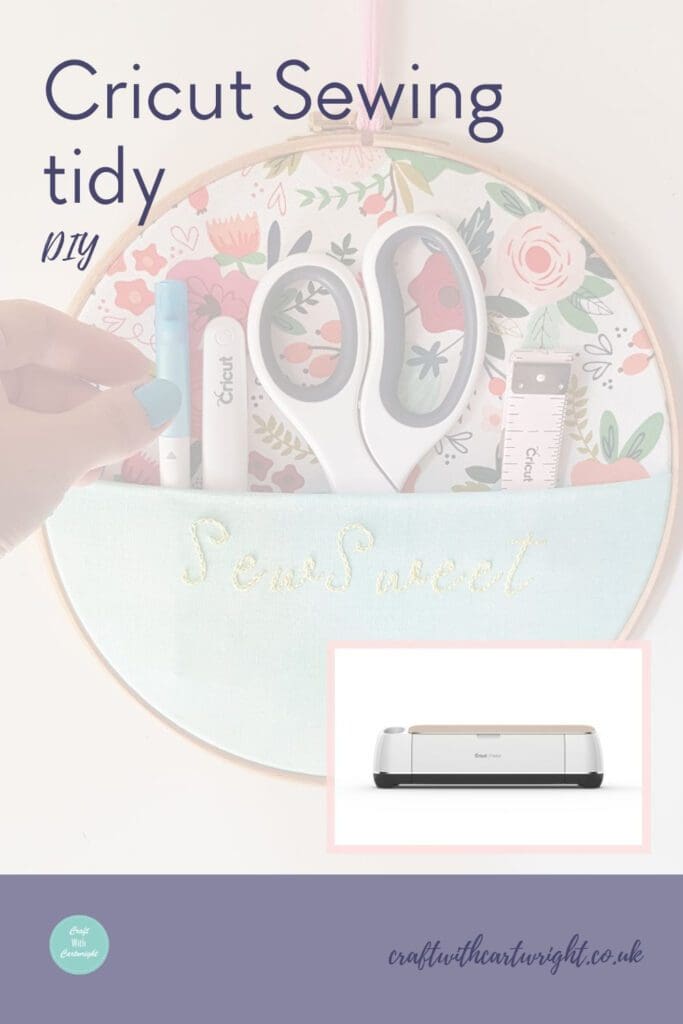
My Cricut maker is becoming by far my favourite tool in my craft room. Not only can I cut amazing svgs on it, but I can use it with my embroidery too! See how quick and easy it was for me to create this beautiful DIY Cricut sewing tidy and make one for your craft room today.

What supplies do I need?
The basics would be:
- A cricut machine. I use the cricut maker.
- Basic toolkit
- Mats
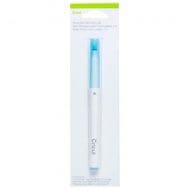
- Fabric pen
- Rotary blade kit
DIY Cricut sewing tidy


DIY Cricut Sewing tidy
Prep Time:
10 minutes
Active Time:
10 minutes
Total Time:
20 minutes
Difficulty:
easy
Materials
- Cricut cotton fabric pack,
- DMC embroidery floss in yellow,
- embroidery hoop
Tools
- Cricut maker,
- computer or laptop with cricut design space installed,
- rotary blade kit for cricut maker,
- washable fabric pen for the circut maker,
- Hand sewing needle,
- scissors,
Instructions
 Gather your materials and open Cricut design space
- Measure your embroidery hoop and cut the fabric to 1'' diameter larger than your hoop
- Pick a font from design space, type 'sew sweet' and position it, so that it will draw just below half way and centered on the plain fabric.
- Once the fabrics have been cut and drawn.
- Embroider the font with the yellow embroidery thread using chain stitch.
- Fold the plain cotton in half and lay directly over the patterned fabric.
- Place both fabrics in the embroidery hoop and tighten.
- Tidy the back with either a running stitch or cover with paper
- Add a ribbon through the tightener to hang your tidy from.
Recommended Products
As an Amazon Associate and member of other affiliate programs, I earn from qualifying purchases.

Don’t forget to Pin it!