Easy Watercolour Gift Tags

Article contains paid link
A handmade tag turns any gift into something memorable. Even if the present inside is simple, like a candle, a bag of coffee, or a pair of socks, a painted tag says you took a few extra minutes to make it personal.
Here’s the good news: you don’t need to “know how to paint” to pull this off. Watercolour is forgiving. Uneven edges? Charming. Wobbly lines? Adds character. The supplies are minimal, the time commitment is low, and the end result looks far more impressive than the effort involved.
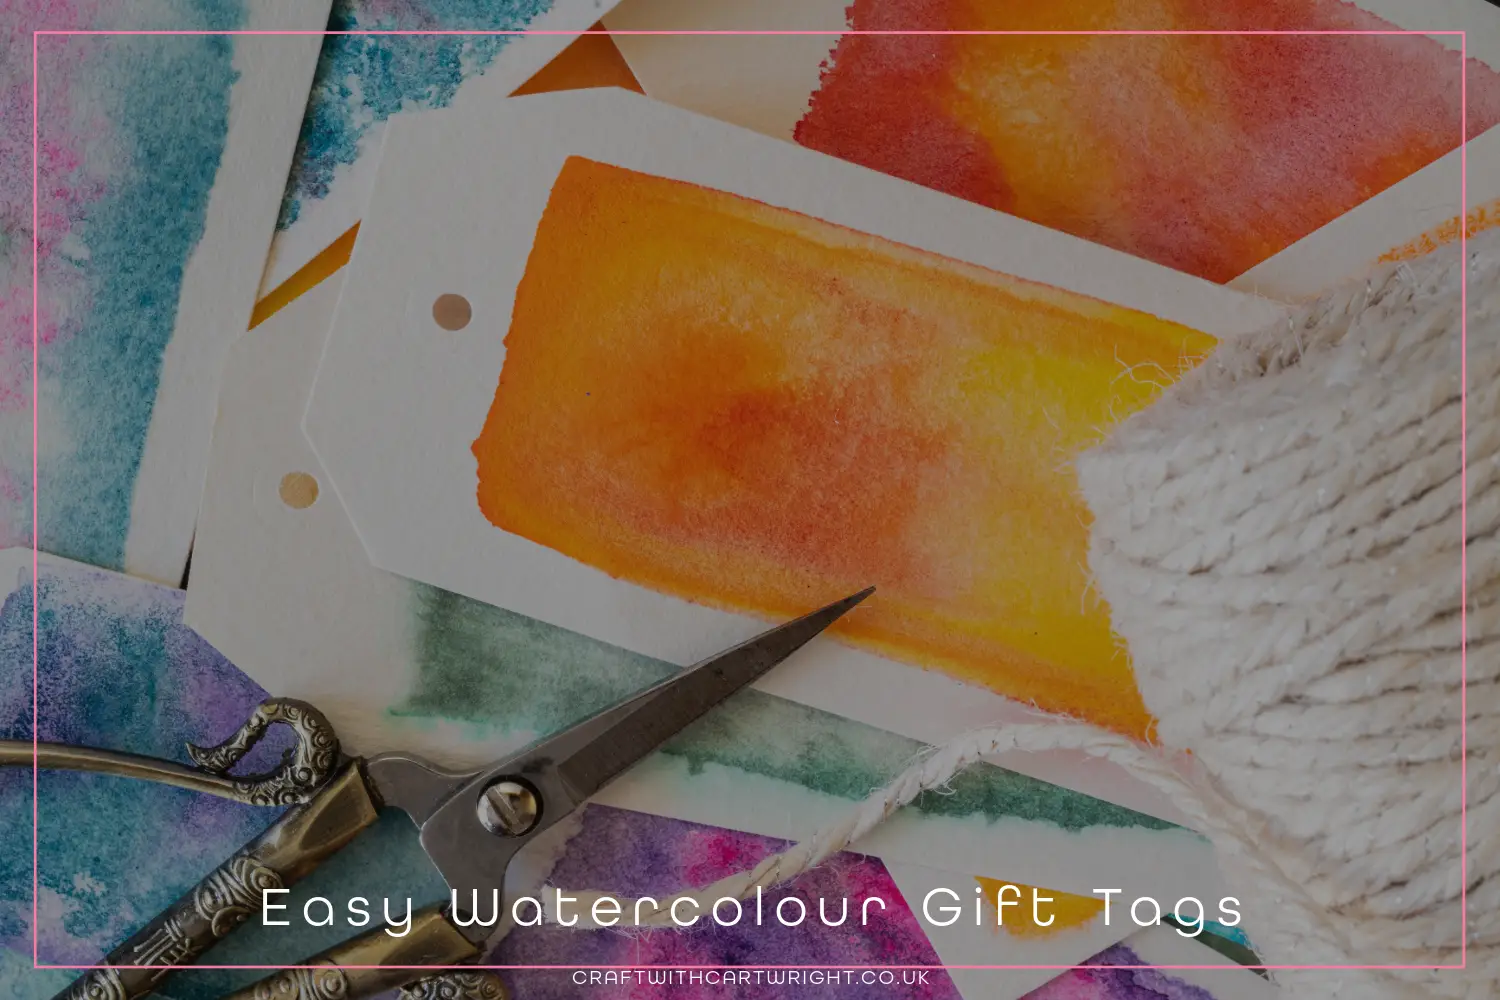
In this tutorial, you’ll create a set of gift tags in about thirty minutes. By the end, you’ll have tags ready to tie onto your next wrapped package, or a stash to keep in a drawer for whenever you need one.
Supplies
You’ll need watercolour paper or medium-weight cardstock, a small roll of painter’s tape or a few binder clips to keep paper from curling, a round brush in a size you find comfortable, a cup of water, and a black fine liner or gel pen for writing names. Once your tags are finished, you’ll also want string, twine, or thin ribbon for attaching them.
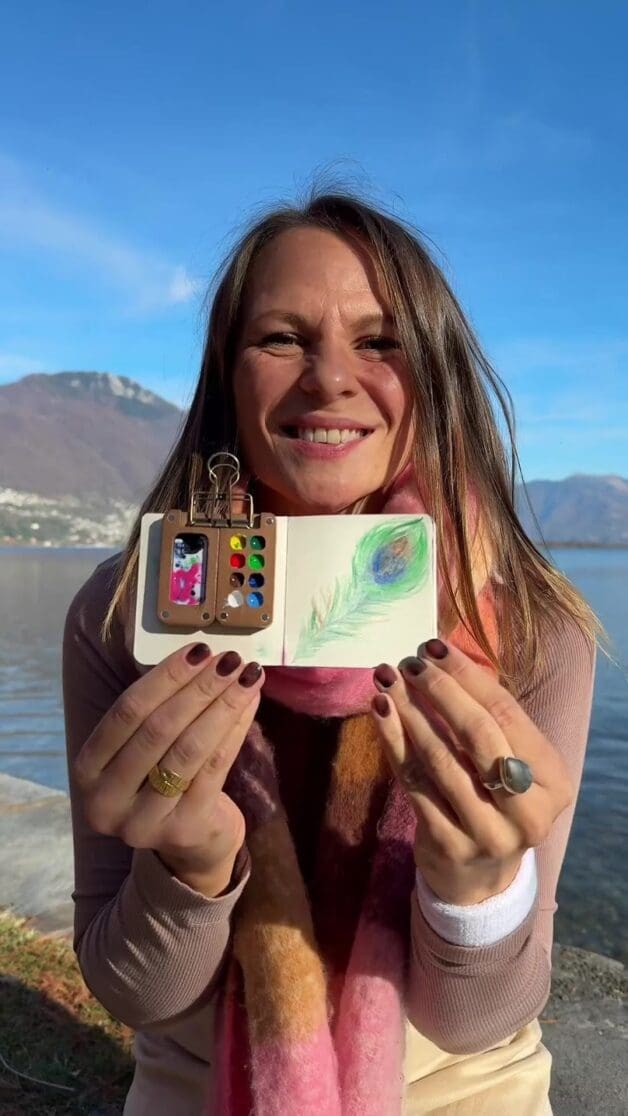
Keeping your setup small makes the whole process easier. A limited palette of two or three colours actually looks more cohesive than a rainbow. If you like a tidy, grab-and-go setup, Tobios Kits are ideal for quick tag sessions because everything stays compact and you’re not juggling lots of separate paints. That way, you can sit down, paint a handful of tags, and pack up without much fuss.
3 easy tag designs anyone can do
These three designs work for beginners and look polished enough to impress. Try one, try all three, or mix them on a single sheet.
Design 1: Soft wash with a simple border
- Start by wetting your brush and running a thin layer of clean water over the tag shape. Don’t flood it, just enough to make the surface damp.
- Pick up a little pigment and touch it to one corner of the wet area. Watch the color spread on its own. Tilt the paper gently to guide it if you want.
- Let it dry completely. This takes a few minutes, so work on another tag while you wait.
- Once dry, use your fineliner to draw a thin border about a quarter-inch from the edge. Add “To” and “From” in small letters at the bottom.
- If your wash looks uneven or has a few blooms, leave them. They look intentional and add texture.
Design 2: Polka dots and confetti
- This one is more controlled. Keep your paper dry and use a damp (not wet) brush loaded with pigment.
- Tap small dots across the tag in a loose, scattered pattern. Leave plenty of white space, especially in the center where you’ll write the name.
- Add a second colour if you like. Let the first dots dry before overlapping, or let them bleed together for a softer effect.
- For extra sparkle, add a few dots with a metallic gel pen once everything is dry.
- Don’t stress about perfect circles. Uneven dots look handmade in the best way.
Design 3: Tiny leaf or berry sprigs
- This design looks intricate but takes only a few brushstrokes per sprig.
- Load your brush with green (or any muted colour). Press down, then lift quickly to create a pointed leaf shape. Repeat two or three times, angling the strokes outward from an imaginary stem.
- Add tiny dots in a contrasting color for berries, or leave the leaves on their own.
- Keep everything small and slightly off-centre. A little cluster in one corner looks better than a centred arrangement.
- Use your fine liner to draw a tiny message banner underneath if you want, or simply write “To/From” in a clear spot.
- If your leaves look more like blobs than botanical illustrations, that’s fine. The looseness is part of the charm.
Assemble your tags so they look polished
- Once your painted tags are dry, cut them out carefully. Sharp scissors work well for curves; a craft knife and ruler give cleaner straight edges.
- Use a standard hole punch to make a hole near the top. If the hole lands on painted area, that’s okay. It can look intentional.
- Thread twine or thin ribbon through the hole and tie a simple knot. Leave enough length to wrap around a gift and tie again, or keep it short for a cleaner look.
- For a more “boutique” finish, cut a slightly larger tag from kraft paper and glue your painted tag on top. The layered effect adds weight and frames your work nicely.
- If your tags curled while drying, flatten them under a heavy book with a clean sheet of paper on top. A few hours usually does the trick.
Make a set that matches the occasion
Painting tags in batches saves time and gives you a coordinated set. Here are a few combinations to try:
A birthday set works well with bright polka dots and bold names written in a thick marker. A minimal set uses one soft wash colour and a thin black border, elegant and quick. A holiday set pairs a two-tone wash (try deep green and burgundy) with metallic accents. A thank-you set looks lovely with tiny leaf sprigs and a simple “thanks” in place of “To/From.”
Aim for six to twelve tags per session. You’ll finish faster than making them one at a time, and you’ll have extras ready for future gifts.
Finish and share
Gather your supplies, and set aside thirty minutes this week to paint a set of tags. Keep the extras in a drawer or a small box so you’re always ready when a gift-wrapping moment comes up.
Save this tutorial for the next time you need a quick creative project. The next time you wrap a gift, you’ll be ready, and the person opening it will notice the extra touch.