

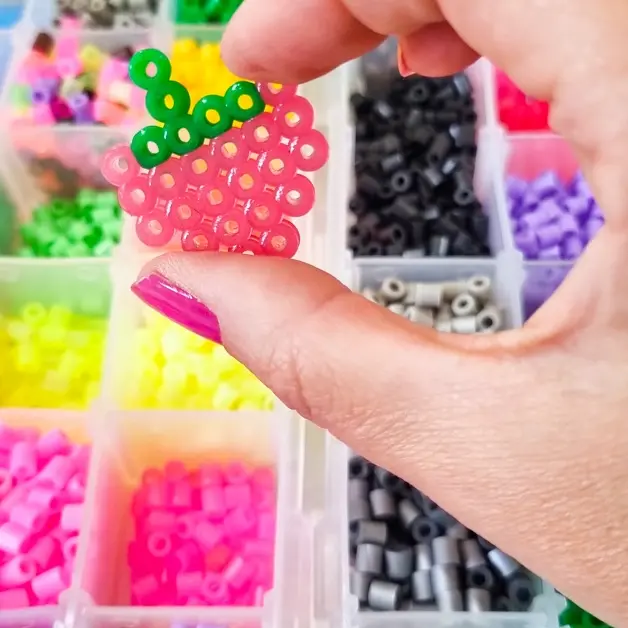
Summer food perler bead patterns

With the summer season in full swing, now is the perfect time to get creative with food-themed perler bead patterns! Whether you’re a beginner or an experienced crafter, these fun and easy DIY projects are sure to spark your creativity.

These cute and simple designs, you can find as a printable PDF. For use with hama / melty / fuse beads, that will keep kids entertained for hours.
What are perler beads?
Perler beads, otherwise known as Hama beads or melty beads, are small tube like beads of plastic that you place on a grid to create a design and then fuse together with an iron to create a solid plastic shape.
Where can I purchase Perler beads?
You can buy branded Perler beads from Amazon and craft stores. They come in a range of colours and are normally sorted in trays.
Hama beads are normally a bit cheaper, but often come in buckets, which means you have to search through for your colours. If your not bothered by branding, then you can often find own brand melty beads at much lower prices.
What’s included?
These summer food perler bead patterns include:
- Ice creams
- Popsicles
- Strawberries
- A watermelon slice
- A burger
- Plus a cocktail umbrella!

How to store Perler beads
I would recommend buying the sets that already come in per sorted colours often in a tray. Otherwise you can store them in a large tub and have a tray to tip them out onto when you’re searching for the colours you want.

Top tips for working with perler beads
- Pre sorted saves you a lot of time
- A big tray is handy so you don’t lose any in the carpet
- Buy a kit that comes with pegboards included as a starting point
- Check the melting heat for different brands
- Protect you iron when melting them
Where can I find other great patterns?
You can simply search perler beads on my site for more of my great patterns.
How to melt perler beads
You will need to sheets of ironing paper, you can buy perler paper. But I find parchment paper works just fine. You cover the design with the paper and use your iron to melt the beads.
Once you have melted the top, you need to turn the design over, remove the pegboard and cover with paper. Creating a sandwich and melt the reverse side.
I have heard of people melting their perler beads with a heat press or straighteners, but I have not tried either so cannot recommend.
Download your summer food perler bead pattern here


