What is the loop start in cross stitch and how do you do it?

If you’ve ever found yourself fiddling around with the back of your fabric trying to secure your first thread, you’ll love the loop start method. It’s a simple but brilliant technique that makes beginning a new thread in cross stitch quicker, neater, and more secure. Perfect for beginners and seasoned stitchers alike.

What is the loop start?
The loop start is a way to begin stitching using just one strand of thread folded in half. You thread the two cut ends through your needle, leaving a loop at the other end. When you make your first stitch, you can pass your needle through the loop on the front, securing the thread without any knots or extra tails to tuck in.
Why use the loop start?
I like the loop start because it:
- Keeps the back of your work neat – no bulky knots or messy ends.
- Saves time – no need to anchor with several stitches or hold the thread with one hand.
- Is secure – the loop doesn’t loosen, making it great for areas that get handled often.
- Works best for even numbers of strands – like when you’re stitching with 2 strands of floss.
Just remember, you can’t use it when you need an odd number of strands (like 1 or 3), or when working with hand-dyed floss where direction matters.
How to do the loop start in cross stitch
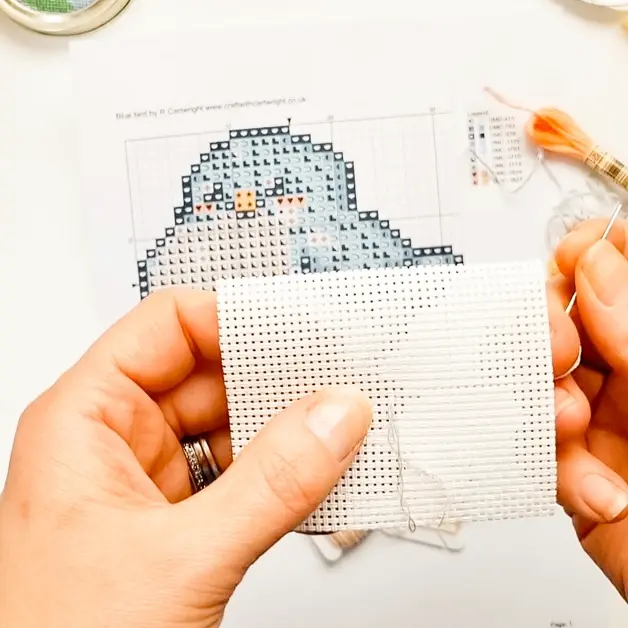
Here’s how I do the loop start:
- Cut one long strand of floss, twice the length you normally use.
- Fold it in half, matching the two cut ends together.
- Thread the two cut ends through the eye of your needle, leaving the folded end as a loop.
- Take your needle down through your fabric at the starting point of your first stitch.
- Bring your needle up to make a diagonal stitch as usual.
- Pass your needle through the loop and tug and the loop is at the back.
Watch the video