DIY Rainbow star garland

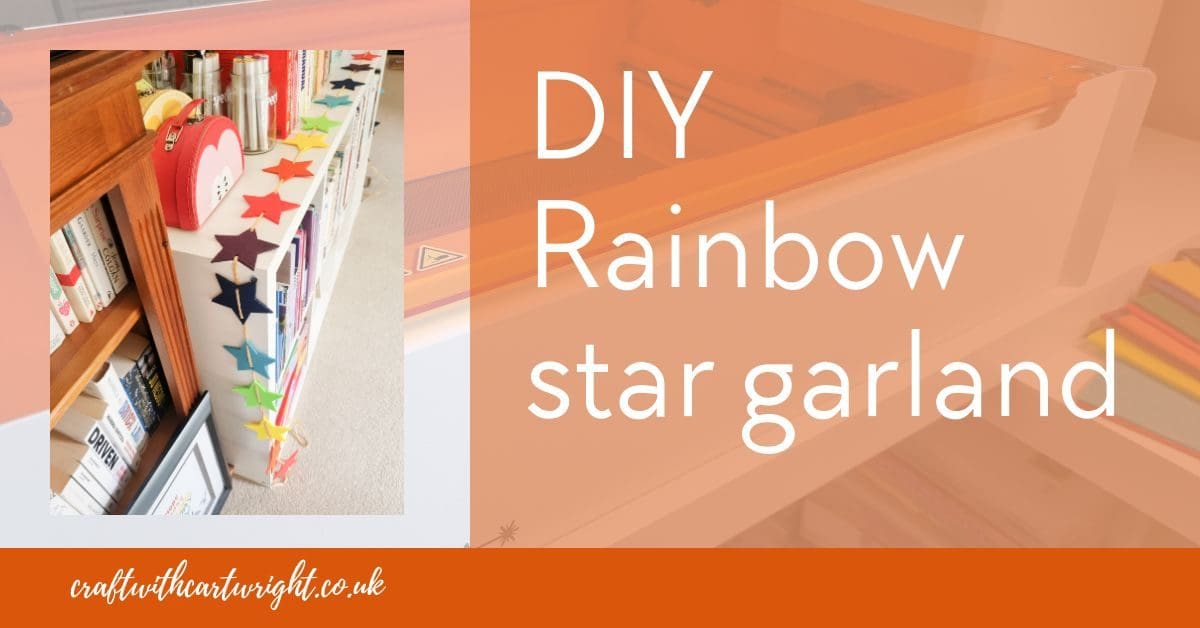
A vibrant DIY adventure in crafting! The perfect decorative touch for any occasion—a dazzling laser-cut DIY rainbow star garland!
If you’ve been searching for a creative and colourful project to brighten up your living space or add a festive flair to your upcoming celebration, look no further. I’ll guide you through the steps to create your very own eye-catching rainbow star garland using laser cutting techniques.
From selecting the materials to assembling the garland, join me on this artistic journey to infuse your space with a burst of joyful hues and playful elegance. Let’s illuminate your world with a sprinkle of rainbow magic!
Don’t worry if you don’t have a laser cutter, you can still do this project. You could use the free stars svg file for a cutting machine, like a cricut or silhouette. Alternatively just print it out and use as a template to draw and cut around.
There really is no excuse not to make this beautiful DIY rainbow star garland.
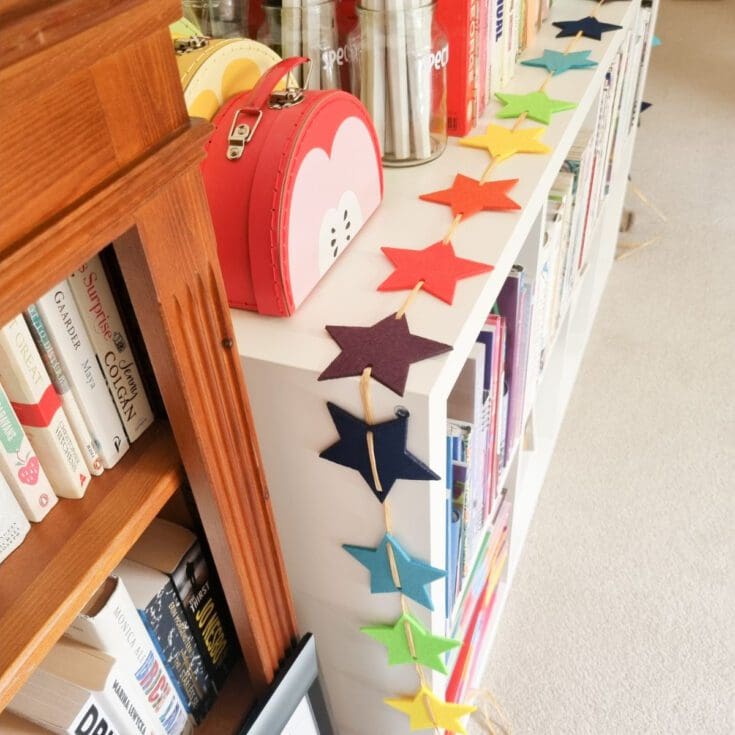
DIY rainbow star garland
Materials
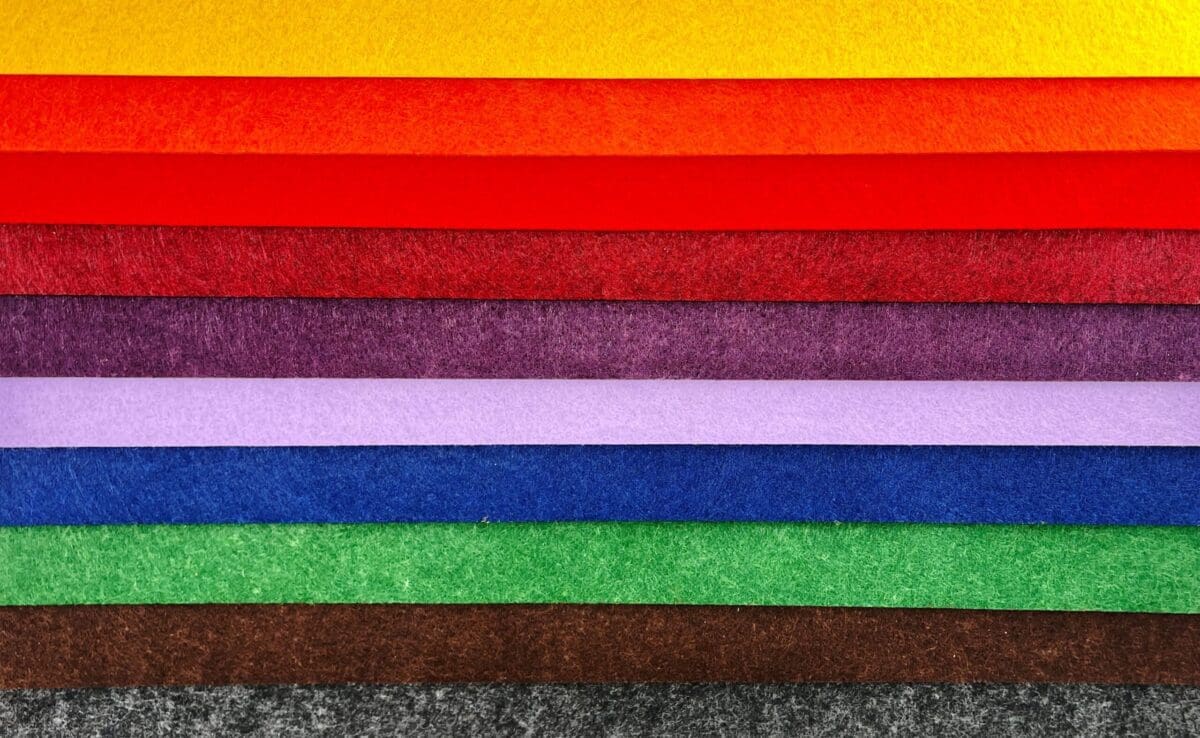
- Seven sheets of a4 felt 3 mm thick in rainbow colours
- Raffia
Tools
- Mr Beam dreamcut laser cutter or a cricut
- scissors
- Stars template
Instructions
- Download the free stars template
- Upload the svg file to Mr Beam or cricut software. (alternatively print out the template and use to draw around and cut out the shapes by hand)
- Cut six stars in each of the seven colours of felt
- Remove the sheets from your machine and check that all the threading holes have been discarded.
- Thread onto raffia, alternating the colours, red, orange, yellow, green, blue, indgio, violet until you have threaded them all.
- Cut the raffia, leaving enough to make a loop at the end.
- Tie a loop at both ends to make your garland easy to hang.
- Hang up your garland and enjoy!
Recommended Products
As an Amazon Associate and member of other affiliate programs, I earn from qualifying purchases.
![Mr Beam II Dreamcut [S] & Air Filter II Bundle >G Mr Beam Lasers](https://craftwithcartwright.co.uk/wp-content/uploads/2022/05/mr-beam-zwei-dreamcut-s-air-filter-system-removebg.pngv1633596656-200x200.jpg)
Want to know more about the laser cutter I used? Check out these posts –
Review – Mr Beam dreamcut laser cutter
What materials can Mr Beam engrave?