How to make a DIY June wall hanging
Add a handmade touch to your seasonal décor with this cheerful DIY June wall hanging. Using a pre-made banner from Baker Ross, colourful HTV flowers, and an embroidered “June”. Free templates to get you started.

What You’ll Need
- Canvas Banner from Baker Ross
- Heat Transfer Vinyl (HTV) in your choice of colour
- Free Flower SVG files for Cricut
- Free printable June template
- Cutting machine (Cricut, Silhouette, or Loklik Crafter)
- Heat press or iron
- Baking paper or Teflon sheet
- Weeding tools
- Scissors
- Heat erasable fabric pen
- Embroidery needle
- DMC Variegated Embroidery Floss
Step-by-Step Instructions
1. Prepare the Banner
Start with a blank canvas banner from Baker Ross. Iron it flat if needed and remove any lint. These banners are pre-hemmed and include a string for hanging – perfect for quick crafts.
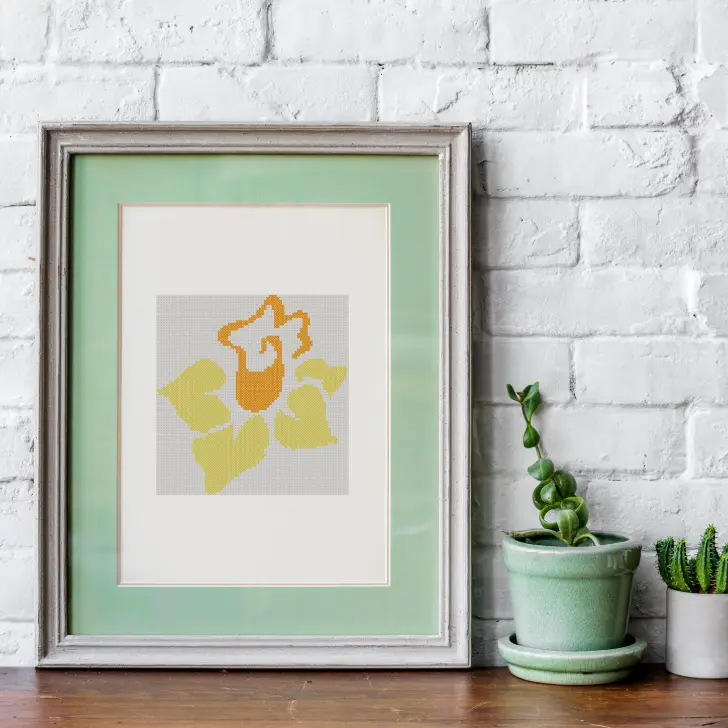
2. Cut and Apply the HTV Flowers
- Download the free Flower SVGs and cut them from HTV using your cutting machine.
- Weed the excess vinyl and arrange your flowers across the banner.
- I placed mine the bottom edge, leaving room for the “June” lettering.
- Once you’re happy with the layout, press the HTV in place using a heat press or iron. Use baking paper or a Teflon sheet to protect the fabric.
- Allow it to cool, then remove the carrier sheets.
3. Trace the “June” Template
- Sign up for my newsletter below to get the free printable June template.
- Print the template and place it underneath the banner.
- Use a heat erasable pen to trace the lettering design, positioning it in the centre space above the flowers.
4. Embroider the June Lettering
- Using DMC variegated floss, stitch over the traced lines with a chain stitch.
The variegated thread gives a lovely gradient effect that adds interest without needing to change colour. - Once finished, lightly press the banner or use a hairdryer to remove the heat-erasable pen marks.
5. Hang and Enjoy
And that’s it! Your DIY June wall hanging is ready to display. Use the string to hang it on a door, hook, or seasonal wall display.
Watch the Tutorial
Want to see how I embroidered the lettering? Watch the video here:
Get the Free June Template