Get the embroidered look with HTV

Want that timeless beauty of embroidery but don’t have the time? With the speed and versatility of heat transfer vinyl (HTV) you can get the look in a matter of minutes. If you own a Cricut or a similar cutting machine, you’re in for a treat. I’ll guide you through the process of creating an embroidered cross-stitch look using HTV for those projects where time is of the essence.

Getting Started with HTV and Your Cutting Machine
You’ll need:
- Your cutting machine (xTool M1 or similar)
- Heat transfer vinyl in your choice of colour
- A weeding tool
- An iron or a heat press
- A base material (like a tote bag, t-shirt, or cushion cover)
Unlock Exclusive design
I’ve created a special cross-stitch style heart SVG cut file that’s perfect for your next project. To get your hands on this exclusive content, sign up and join my crafting community. Not only will you receive this charming design, but you’ll also gain access to a treasure trove of crafting tips and tricks. You can unsubscribe at any time
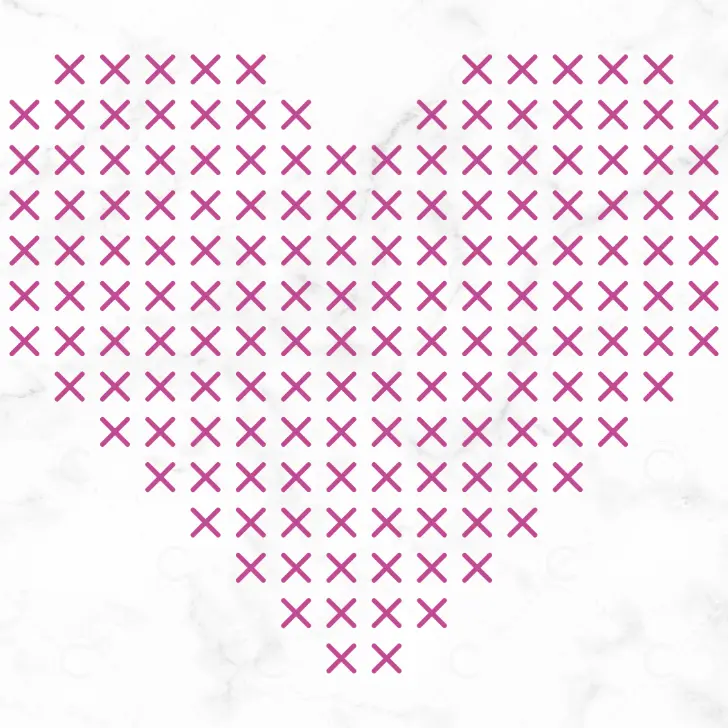
Cutting and Weeding Your HTV
Once your design is uploaded, it’s time to let your cutting machine do the heavy lifting. After cutting out the design. You need to weed it, this is where you remove the excess vinyl, leaving only your beautiful pattern behind.
Transferring Your Design
Whether you’re using an iron or a heat press, make sure to apply even pressure and heat according to the HTV manufacturer’s instructions. This ensures a clean and durable transfer.
The Final Touch
After the HTV has cooled down, peel off the carrier sheet to reveal your embroidered look masterpiece. It’s that simple! You now have a project that looks like it took hours of meticulous stitching, done in a fraction of the time.