

How to Make a Cross Stitch Pin Drum: An Easy Tutorial for Beginners

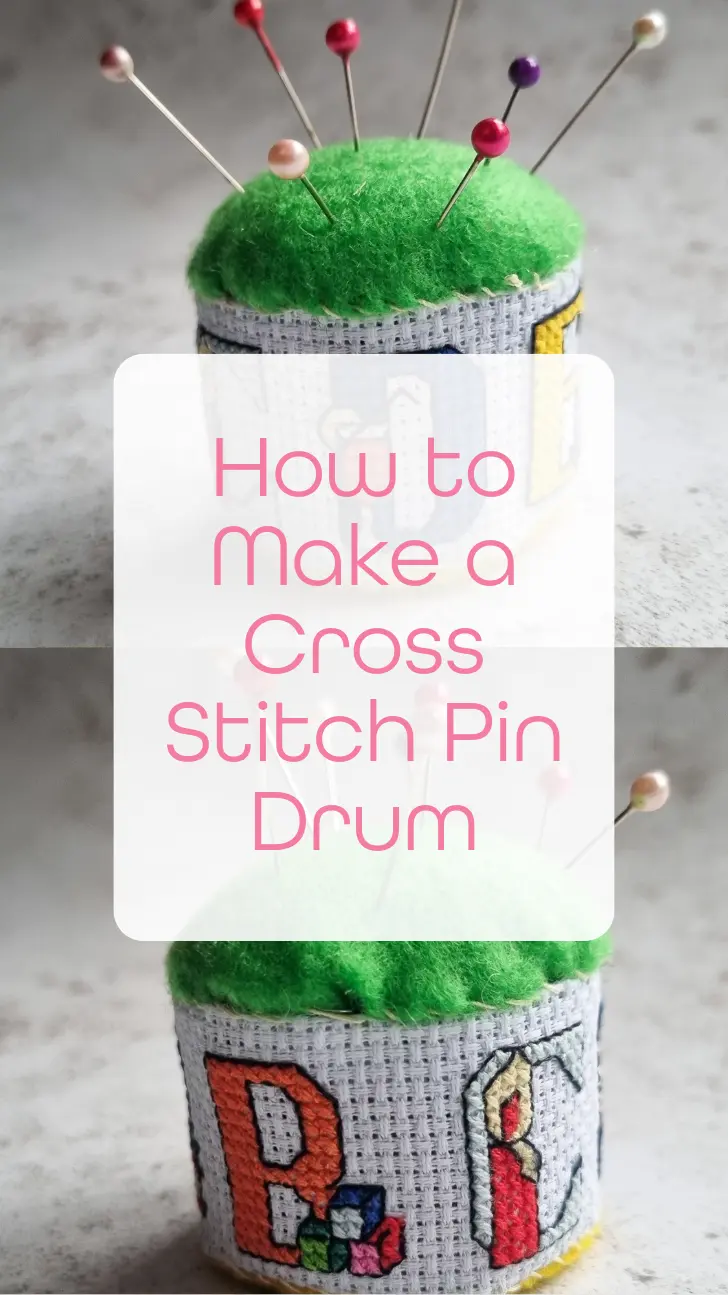
Looking for a project to use up your off cut aida? Have you tried making a cross stitch pin drum? It’s a hand-sewn piece that can be used to store pins, needles, or just as a small decorative item for your craft space. Pin drums are a little more unique than regular pincushions because of their cylindrical shape and opportunity for more elaborate designs. I’ll guide you through how to make a simple one, so even if you’re a beginner, you can have a go at this project.

What Is a Pin Drum?
A pin drum is a small, cylindrical pincushion. It’s often made using a counted cross stitch pattern and some basic sewing techniques. Pin drums allow for more flexibility with the design since the height and width of the cylinder can vary depending on your pattern and personal taste.
They are typically made up of three main sections:
- The cross-stitched band (the outer wall of the drum)
- The top piece (either a solid piece of fabric or more embroidery)
- The base (a circular fabric piece)
Materials Needed

To make a cross stitch pin drum, I like to keep the materials list simple:
- Aida fabric or Evenweave (I usually choose a 14-count Aida for an easier design)
- Embroidery floss
- Needles (one for cross stitch and a sharp hand-sewing needle)
- Sewing thread (matching color)
- Felt fabric for the top and bottom pieces
- Stuffing (polyester fiberfill works well)
- cardboard tube (for the support)
- Scissors, pins or sewing clips
Step-by-Step Instructions
Step 1: Stitch the Band Design
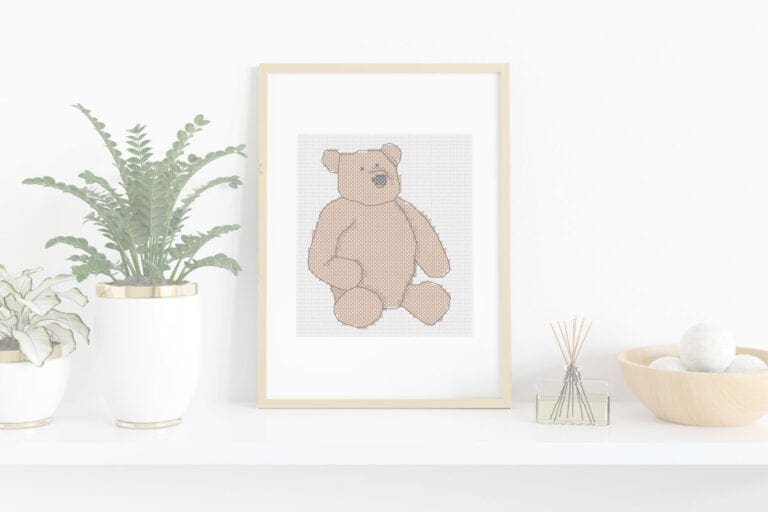
First, start by choosing a counted cross stitch pattern for the band. This will form the main decorative part of the pin drum. If you’re not sure what to use, go with a simple repeating motif or a small sampler pattern. Check out my pattern library for inspiration. (I cut up a nursery sampler that I was never going to finish!)
Measure out a piece of Aida fabric long enough to wrap around your cardboard tube and a bit taller than your desired height. My fabric band was 7 1/2 inches by 2 inches.
Once you’ve chosen your design, start stitching the pattern onto the Aida fabric, using embroidery floss that suits your project. Once stitched press, the top and bottom edges in for a neat finish.

Step 2: Prepare the Top and Bottom Circles
Once the band is complete, cut two circles of felt fabric: one for the top and one for the base. I traced around the cardboard tube for the base and cut a 3 inch circle for the top.
Step 3: Assemble the Drum Shape
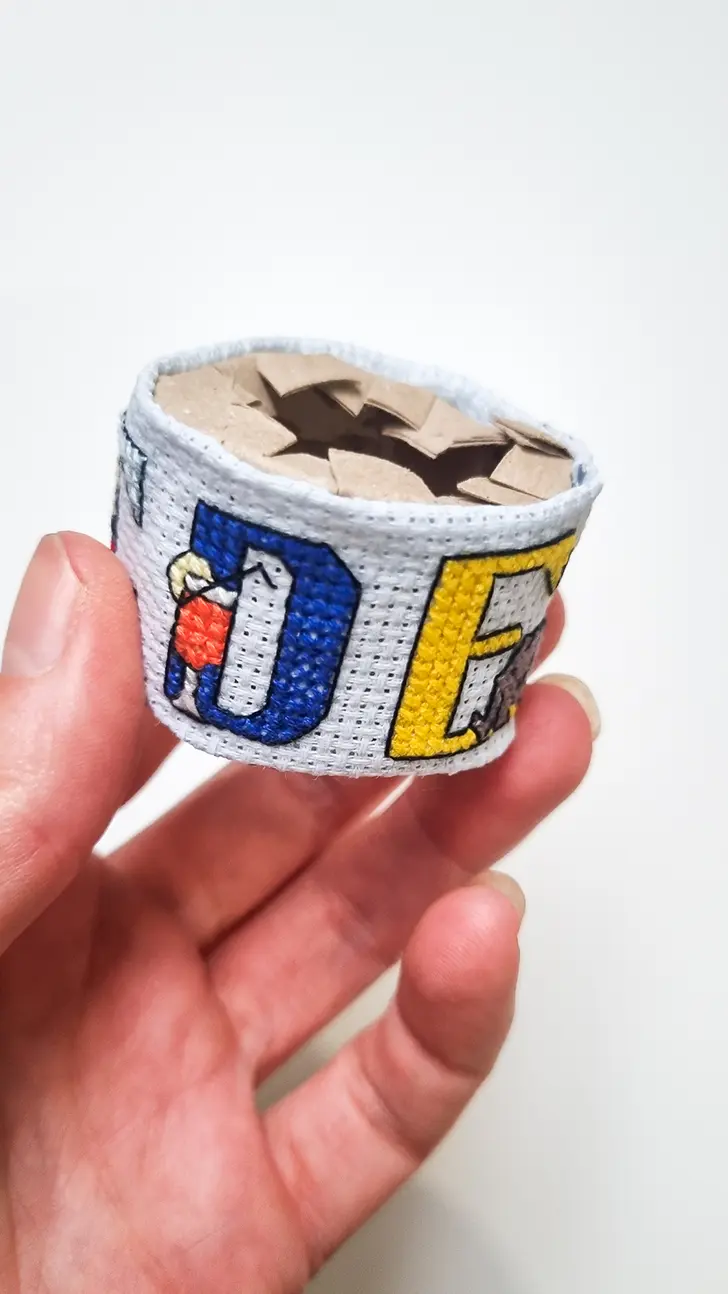
Cut you cardboard tub down to the width of your aida band plus 2 cm. Mark one centimetre in on each edge and snip around the circle. Fold those snips in to flatten the tube into the drum shape.


Fold the cross-stitched band in half, with the right sides facing inward, and stitch the side seam together using a simple backstitch. This will form the main cylinder of the pin drum. Once stitched, turn the cylinder right-side out.


Slide the aida band onto the cardboard tube, ensuring the seams stay flat
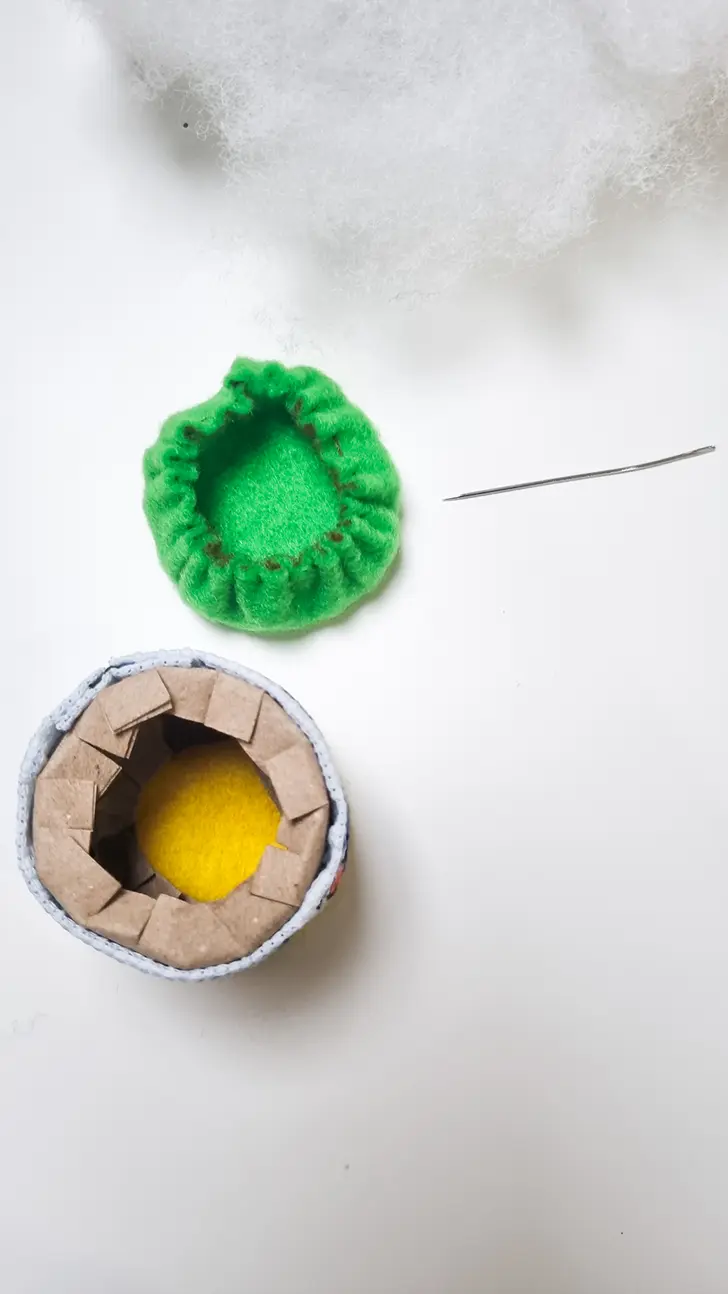
Next, place the smaller felt fabric circle on the bottom of the cylinder, aligning the edges neatly. Using a whipstitch or ladder stitch, carefully hand sew the circle to the cylinder.

Step 4: Stuff the Drum
Stitch a running stitch around the top circle and gather. Stuff the gathered circle and fill the drum shape with polyester stuffing, making sure it’s evenly packed. You want the drum to be firm enough to hold pins but not overstuffed. If you like a heavier pin drum, you could add some rice or sand at the base before filling the rest with stuffing.
Place the top on and stitch the same as the base, using a ladder stitch.
Tips for Beginners
- Start Simple: If you’re new to cross stitching, pick an easy design to stitch. The less complex your pattern, the quicker your pin drum will come together.
- Check Your Tension: When stitching the band, try to keep your stitches even and not too tight. Uneven tension can make it harder to wrap the fabric into a smooth cylinder.
- Use Quality Stuffing: Cheap stuffing can make the pin drum lumpy. Invest in a good-quality fiberfill for a smooth finish.
Why Make a Pin Drum?
If you’re already familiar with cross stitch, a pin drum is a fun way to turn a small design into a practical item. It makes a nice change from the usual flat projects and can be customized endlessly. Plus, they’re small enough to work on during short breaks or when traveling.
Hand-sewn projects like these are also a great way to use up leftover embroidery floss and small fabric scraps. A pin drum can be made to match other items in your craft room or gifted to a fellow stitcher as a thoughtful handmade present.

How to make a cross stitch pin drum
Materials
- Aida fabric or Evenweave (I usually choose a 14-count Aida for an easier design)
- Embroidery floss
- Sewing thread (matching color)
- Felt fabric for the top and bottom pieces
- Stuffing (polyester fiberfill works well)
- cardboard tube (for the support)
Tools
- Needles (one for cross stitch and a sharp hand-sewing needle)
- Scissors,
- pins or sewing clips
Instructions
Step 1: Stitch the Band Design
First, start by choosing a counted cross stitch pattern for the band. This will form the main decorative part of the pin drum. If you’re not sure what to use, go with a simple repeating motif or a small sampler pattern. Check out my pattern library for inspiration. (I cut up a nursery sampler that I was never going to finish!)
Measure out a piece of Aida fabric long enough to wrap around your cardboard tube and a bit taller than your desired height. My fabric band was 7 1/2 inches by 2 inches.
Once you’ve chosen your design, start stitching the pattern onto the Aida fabric, using embroidery floss that suits your project. Once stitched press, the top and bottom edges in for a neat finish.
Step 2: Prepare the Top and Bottom Circles
Once the band is complete, cut two circles of felt fabric: one for the top and one for the base. I traced around the cardboard tube for the base and cut a 3 inch circle for the top.
Step 3: Assemble the Drum Shape
Cut you cardboard tub down to the width of your aida band plus 2 cm. Mark one centimetre in on each edge and snip around the circle. Fold those snips in to flatten the tube into the drum shape.
Fold the cross-stitched band in half, with the right sides facing inward, and stitch the side seam together using a simple backstitch. This will form the main cylinder of the pin drum. Once stitched, turn the cylinder right-side out.
Slide the aida band onto the cardboard tube, ensuring the seams stay flat
Next, place the smaller felt fabric circle on the bottom of the cylinder, aligning the edges neatly. Using a whipstitch or ladder stitch, carefully hand sew the circle to the cylinder.
Step 4: Stuff the Drum
Stitch a running stitch around the top circle and gather. Stuff the gathered circle and fill the drum shape with polyester stuffing, making sure it’s evenly packed. You want the drum to be firm enough to hold pins but not overstuffed. If you like a heavier pin drum, you could add some rice or sand at the base before filling the rest with stuffing.
Place the top on and stitch the same as the base, using a ladder stitch.





Hi. I can’t seem to locate a link on your tutorials in order to print it. I’ve tried so many ways to no avail. Do you have a link for this and if so where is it? Or do I have to use my laptop’s print button which will probably bring up a ton of pages that I don’t need. Thanks for any info
I’ve added a printable version of the tutorial at the bottom of the post.